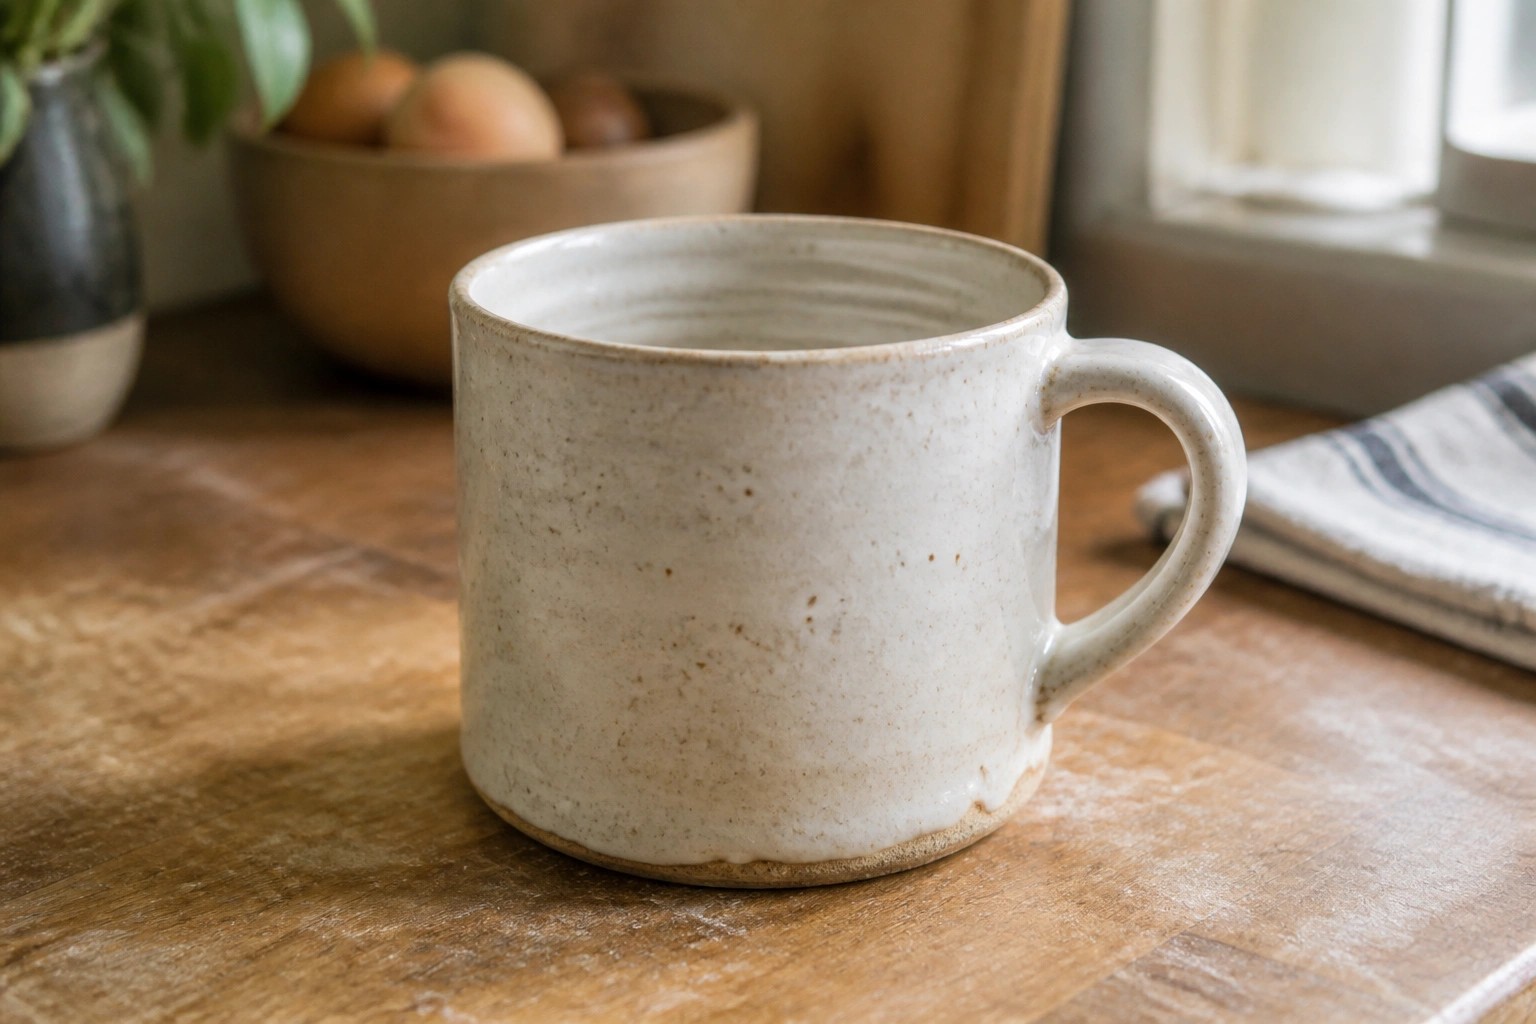
I like to spend time on the wheel just repeating basic shapes until they start to feel more even.
Over the years I’ve put together a list of simple projects that help with that kind of practice.
They are nothing fancy but they give me a chance to focus on walls and curves without adding extra details.
I use them when I want to improve my consistency rather than make finished pieces right away.
These are the ones that have worked best for me in my own sessions.
Straight Sided Mug
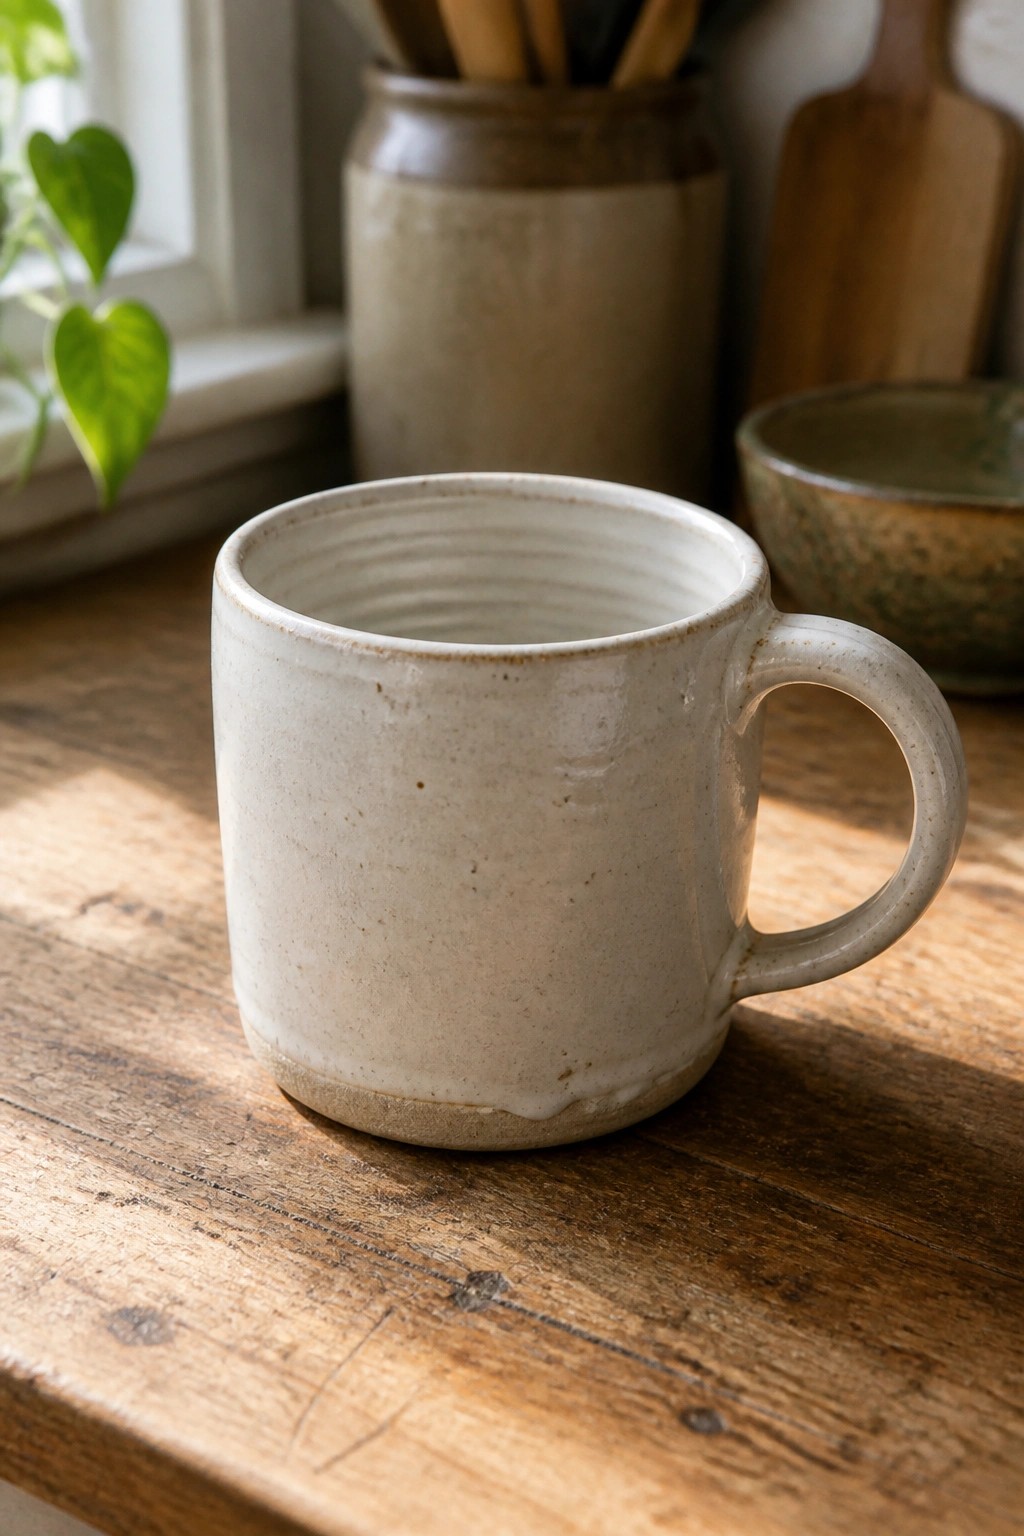
A wheel thrown mug with a simple cylindrical body and attached handle gives you a straightforward form to repeat. The visible throwing rings inside help track consistent wall thickness from base to rim. A neutral speckled glaze lets the shape stand out without extra decoration.
The shape does a lot of the work here because the even cylinder is easy to measure and replicate for matching sets. Try varying the rim diameter slightly on your next batch to create different capacities. In a kitchen this kind of mug fits daily use and stacks reasonably well when you keep the handle proportions balanced.
Wide Shallow Bowl with Thrown Ridges

A wide, shallow bowl thrown on the wheel lets you focus on pulling even walls and keeping the rim level from one side to the other. The light green glaze settles into the spiral grooves left during throwing, so the surface shows the form without added carving. This shape stays open and stable, which makes it practical for salads, fruit, or serving dishes where you need easy access.
What makes this idea useful is how the throwing lines add texture on their own, so the piece looks finished with just one glaze. You can repeat the same wide proportions at a smaller scale to make side bowls or change the rim to a slight lip for variety. In a kitchen this form handles daily use well because the low center of gravity keeps it steady, and working through several of these helps lock in consistent curves across multiple pieces.
Simple Cylinder Tumblers

Wheel-thrown tumblers like these focus on keeping the walls straight and the diameter consistent from base to rim. The horizontal throwing ridges give the surface some texture while the neutral speckled glaze lets the form stay the main feature. This project category works well for practicing repeated shapes because each cup can be measured against the others during throwing and trimming.
What makes this idea useful is that the plain cylinder is one of the easiest forms to repeat for muscle memory. You can adjust the height or rim thickness across a set to create slight variations without losing the overall match. In a kitchen these tumblers stack reasonably well and work for water, tea, or small servings. The same shape can be reworked into taller versions for herb jars or shorter ones for small storage on a desk.
Small Teardrop Vase
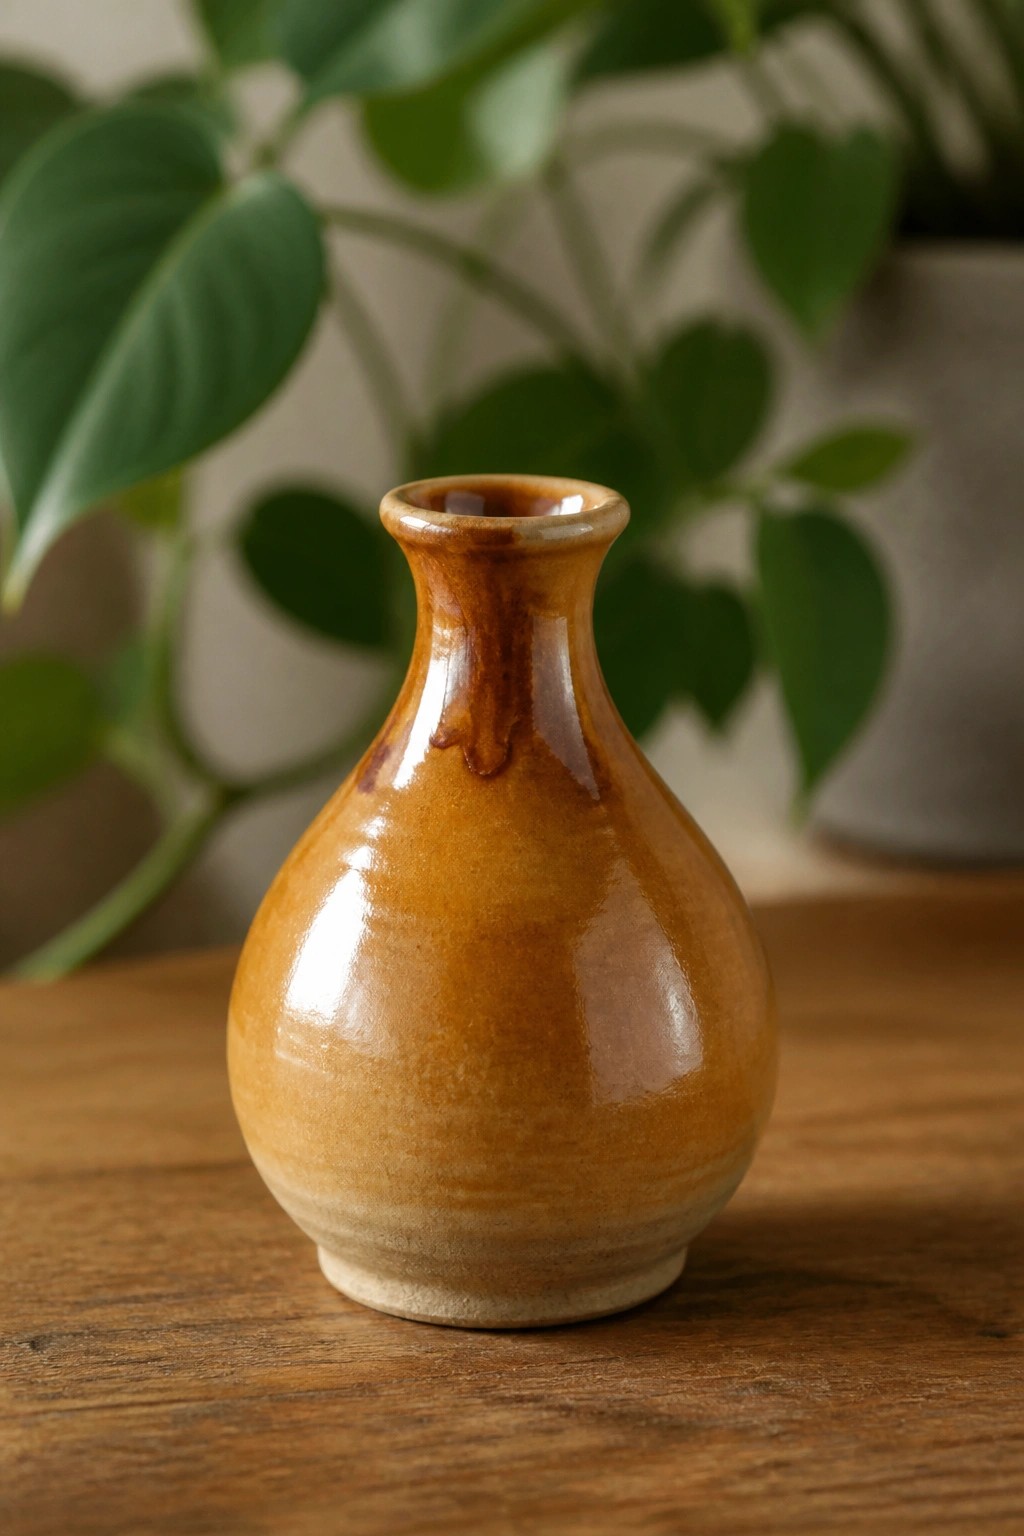
A small teardrop vase gives you a focused wheel throwing exercise in pulling a rounded body up to a narrow neck while keeping the walls even. The glossy brown glaze with its natural flow and slight variations creates a finished look without added carving or texture. This shape works as a decor object that holds a single stem or small bunch of flowers.
The shape does a lot of the work here because the bulbous base stays stable on a shelf or table while the neck keeps stems upright. You can scale the same form up or down for different sizes or try it in other glaze colors to match your space. For a gift, something like this stays useful without taking up much room and gives you a clear target when practicing consistent forms.
Cylinder Planters with a Contrasting Rim Band
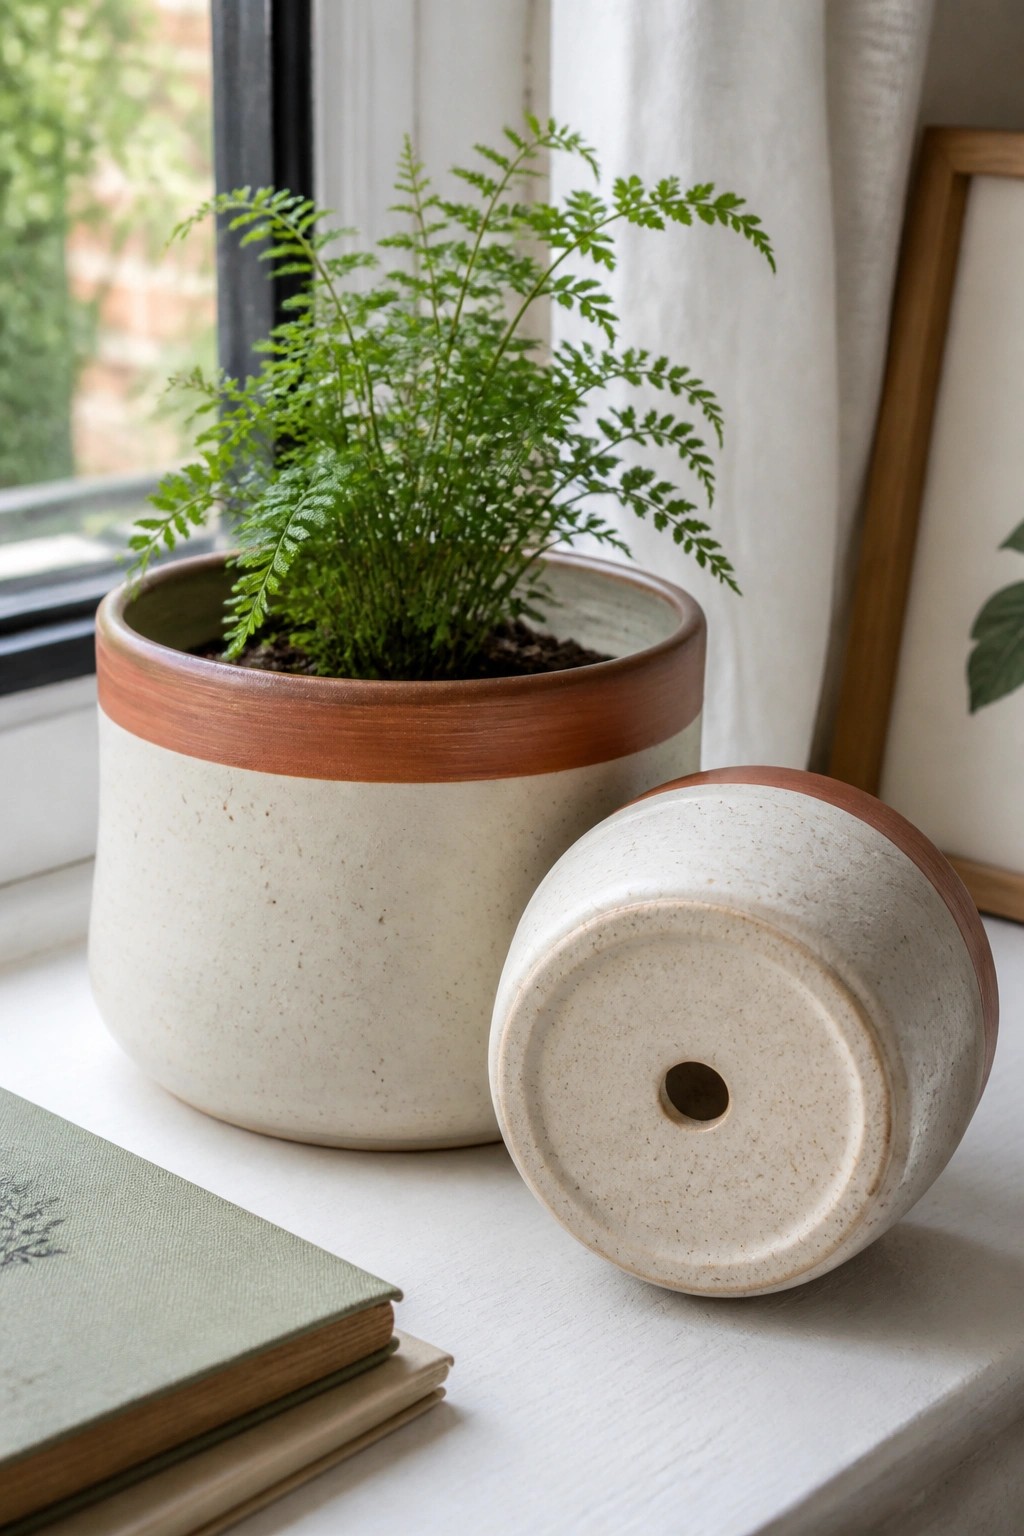
A wheel-thrown cylinder planter gains a simple finished look when you add a single band of darker glaze around the rim. The speckled light body with the terracotta band keeps the form clean while still showing the wheel-thrown shape. Throwing the same diameter and height multiple times builds even forms that stack or group well together. A small drainage hole in the base turns the cylinder into a working planter for houseplants.
What makes this idea useful is that the same basic cylinder can be repeated in two or three sizes to create a matching set. The rim band adapts easily if you swap the glaze color or change its width on the next batch. This shape sits neatly on a windowsill or shelf without taking up much space. You could also throw the same form a bit shorter to make cachepots that hold store-bought plastic nursery pots.
Nesting Bowls with Single-Color Dots
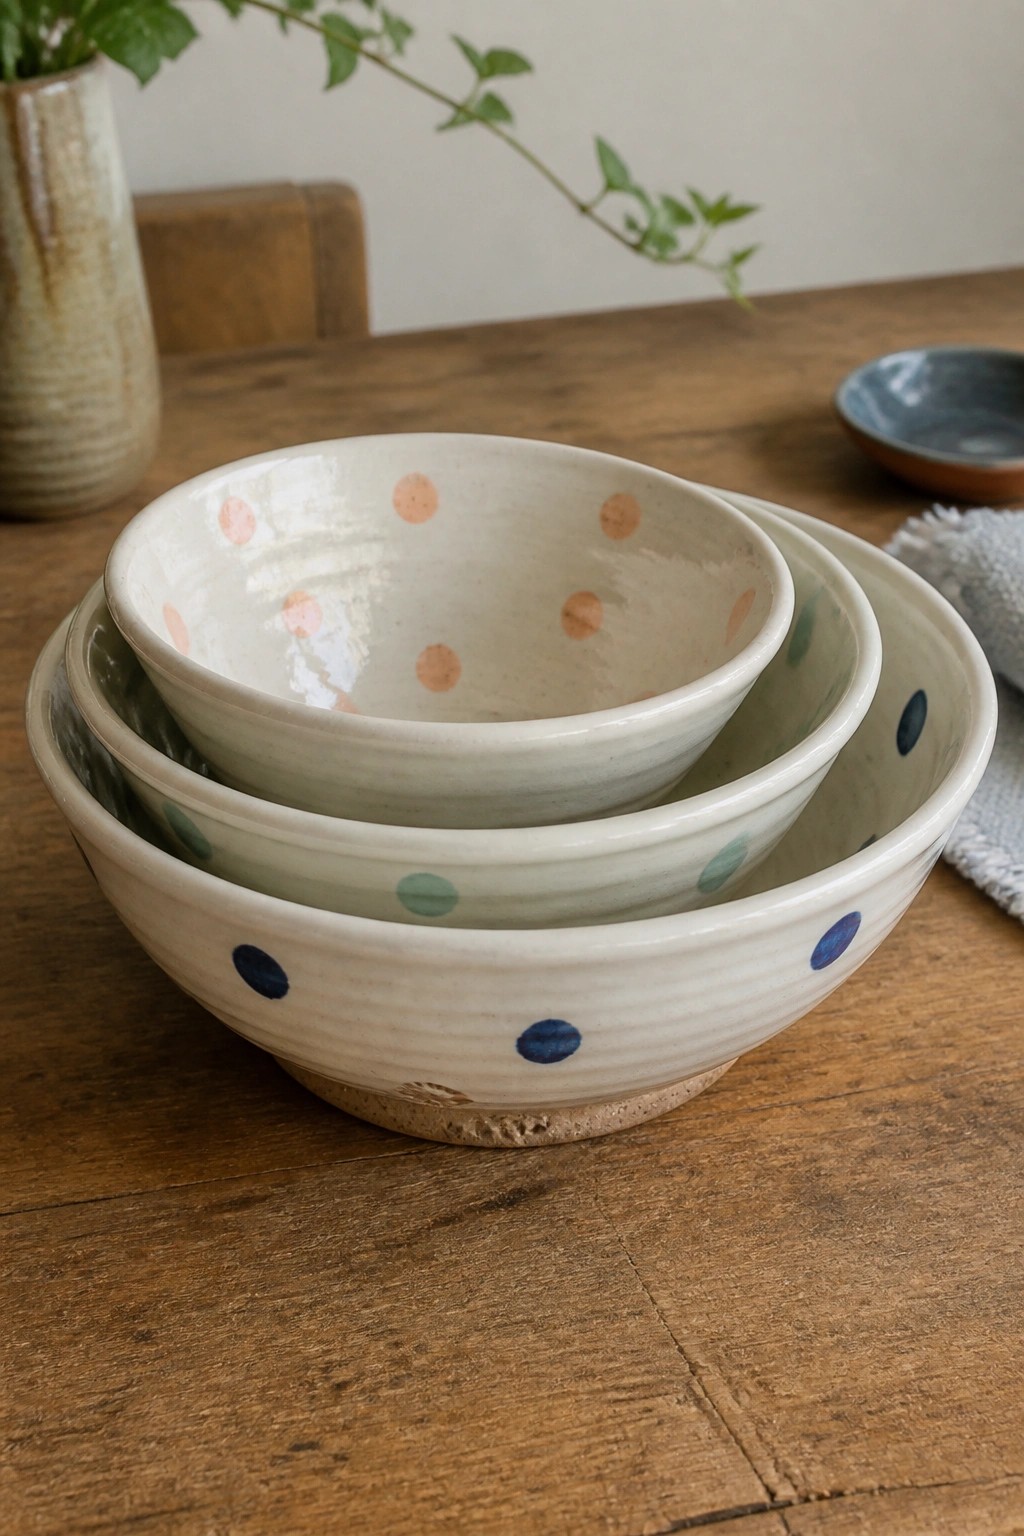
Throw three bowls in graduated sizes so they stack neatly inside one another. Cover each with a light speckled glaze, then paint a simple ring of dots around the rim using one color per bowl. The peach dots mark the smallest bowl, green the middle size, and blue the largest, giving each piece a clear identity without complicating the form.
What makes this idea useful is the way nesting immediately shows whether your curves and wall thickness stayed consistent across the set. These bowls work well for kitchen storage or serving sides, and the single-color dot pattern keeps the focus on shape rather than decoration. You could rework the same idea into smaller ramekins or change the dot placement to a scattered field instead of a neat ring.
Small Cylinder Bowl
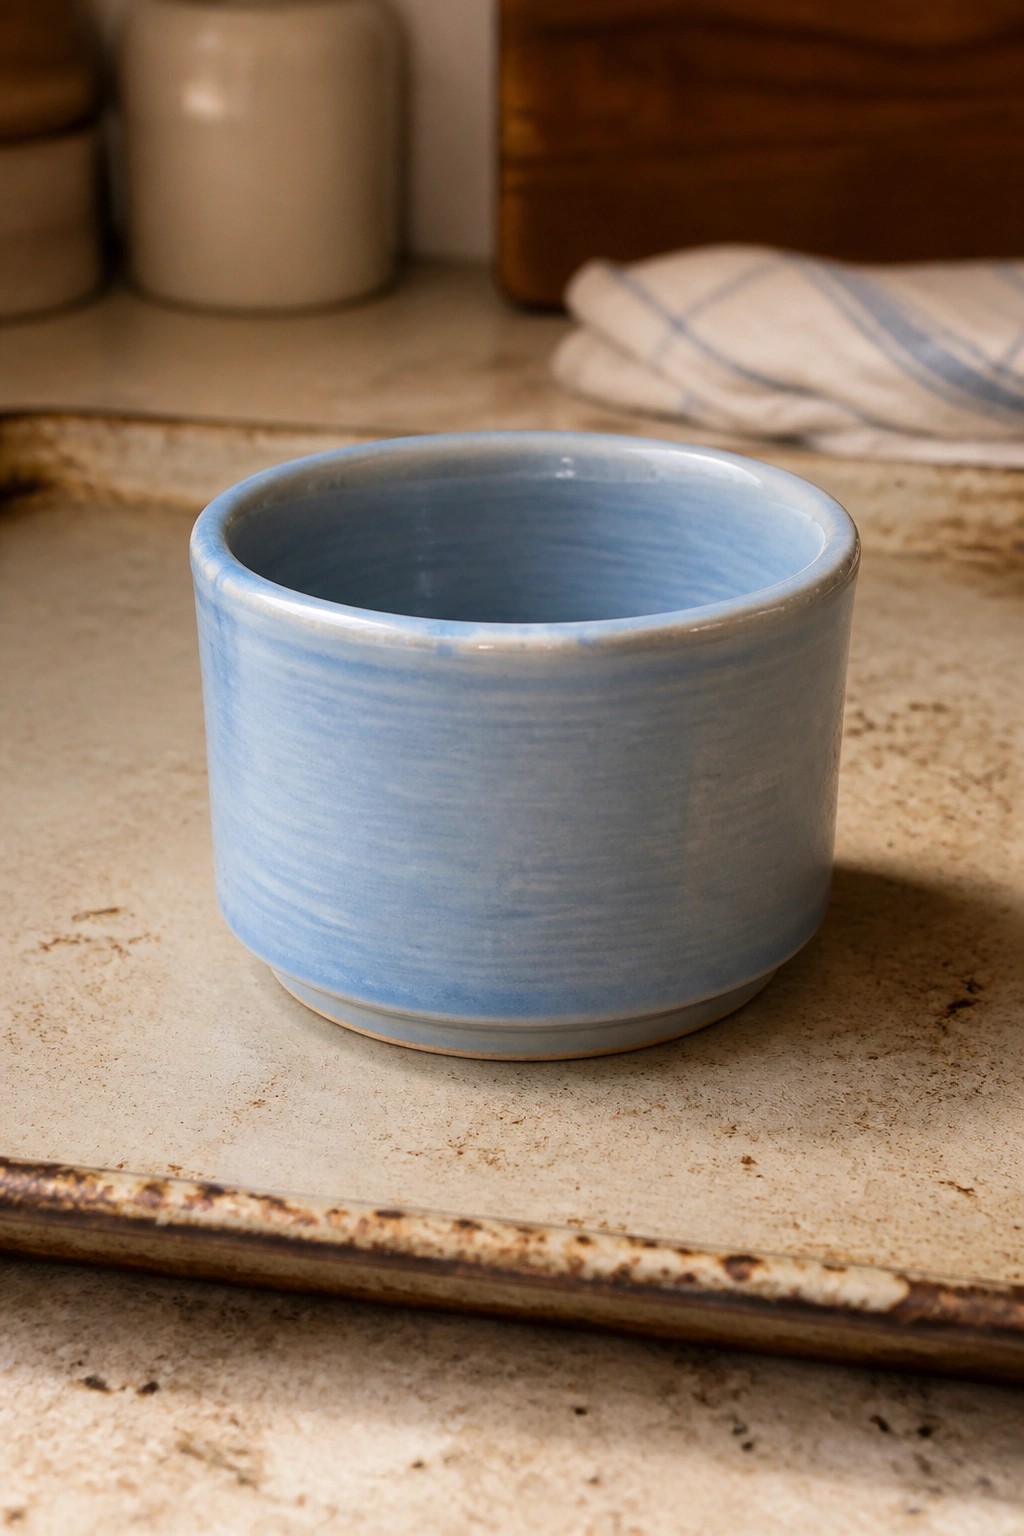
A small wheel thrown bowl gives you a straightforward way to practice pulling up even walls and keeping the diameter consistent from top to bottom. The light blue glaze sits thin enough that the horizontal throwing lines remain visible, adding subtle texture without any added carving or slip. This shape works as a basic kitchen prep bowl, a small serving dish, or a ramekin style container.
What makes this idea useful is how the straight cylinder form scales easily to other sizes once you have the proportions right. You can repeat the same pull to make a set of matching bowls or stretch the height slightly for a taller storage jar. The simple glaze choice keeps the focus on the form itself, which helps when you are trying to improve uniformity across multiple pieces.
Small Creamer Pitcher with Spout
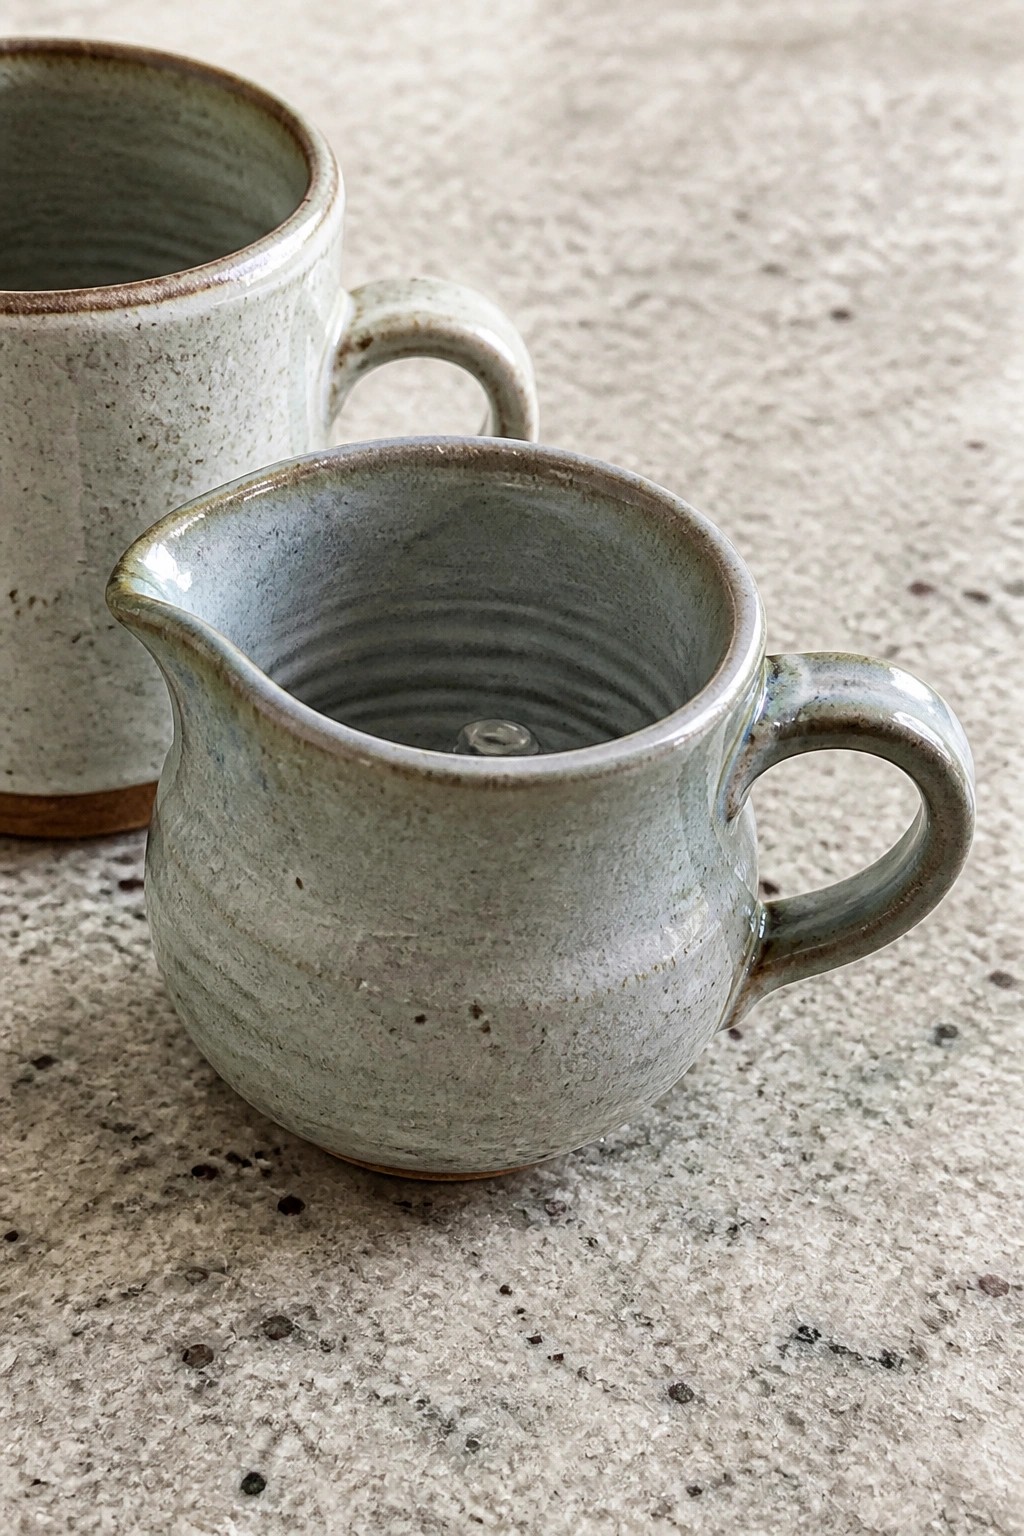
A small wheel-thrown pitcher works as a kitchen item for pouring cream, milk, or sauces. The shape stays simple with a rounded body, a pinched lip for the spout, and a pulled handle attached to one side. The speckled glaze shows the throwing lines clearly while keeping the surface practical for daily use. This fits the goal of practicing consistent forms because the compact size makes it easy to repeat the same proportions.
What makes this idea useful is how the small scale lets you throw several versions in one session to refine the spout and handle placement. You can adapt the same base shape into a mug by leaving off the lip or turn it into a small syrup server by adjusting the curve at the bottom. In a kitchen it stays handy next to a coffee setup or on a breakfast table without taking much space. The idea works well for building wheel skills since it adds just one functional detail to a basic cylinder.
Matching Striped Mugs
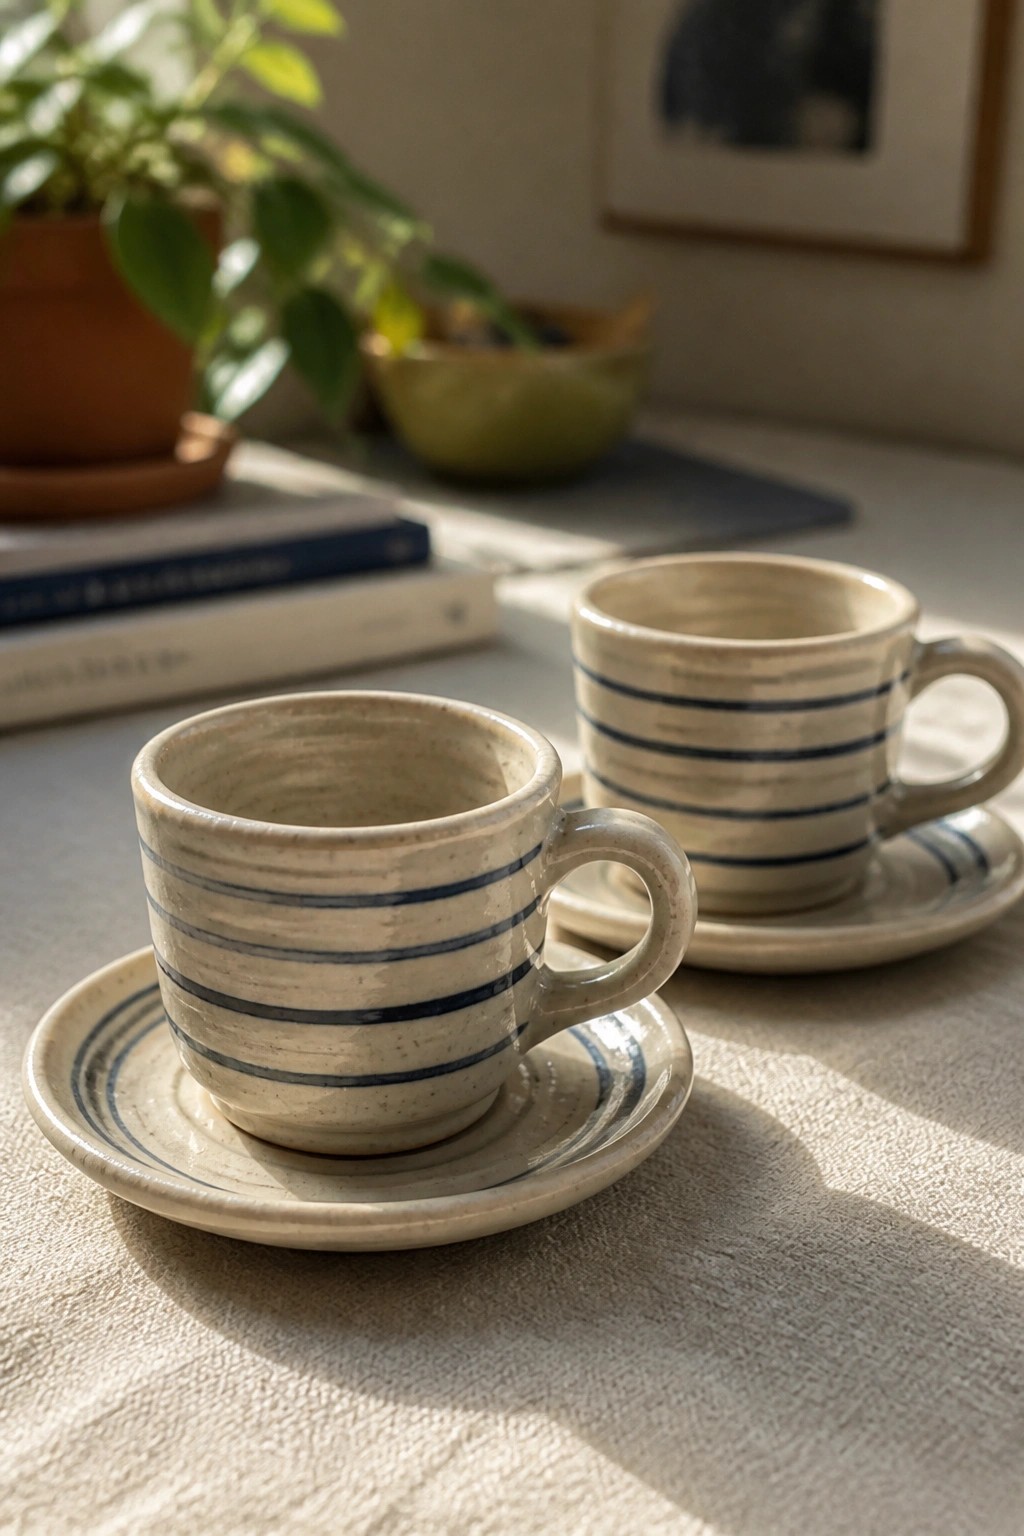
Wheel-thrown mugs on saucers work well for practicing uniform shapes because each piece needs to match in height, width, and rim size. The horizontal blue stripes add a clear visual guide that highlights how consistent the forms are while keeping the surface simple. A light speckled clay body keeps the focus on the lines and the overall silhouette rather than on heavy texture or color variation.
What makes this idea useful is how the stripes create a set without extra tools or carving. You can adjust the spacing or number of lines on the next round to test how the pattern changes the look of the same basic mug shape. These would fit easily into daily use for coffee or tea and could be repeated in smaller sizes for espresso cups. The same stripe layout transfers quickly to bowls if you want to build a matching collection.
Speckled Ring Dish for Daily Jewelry
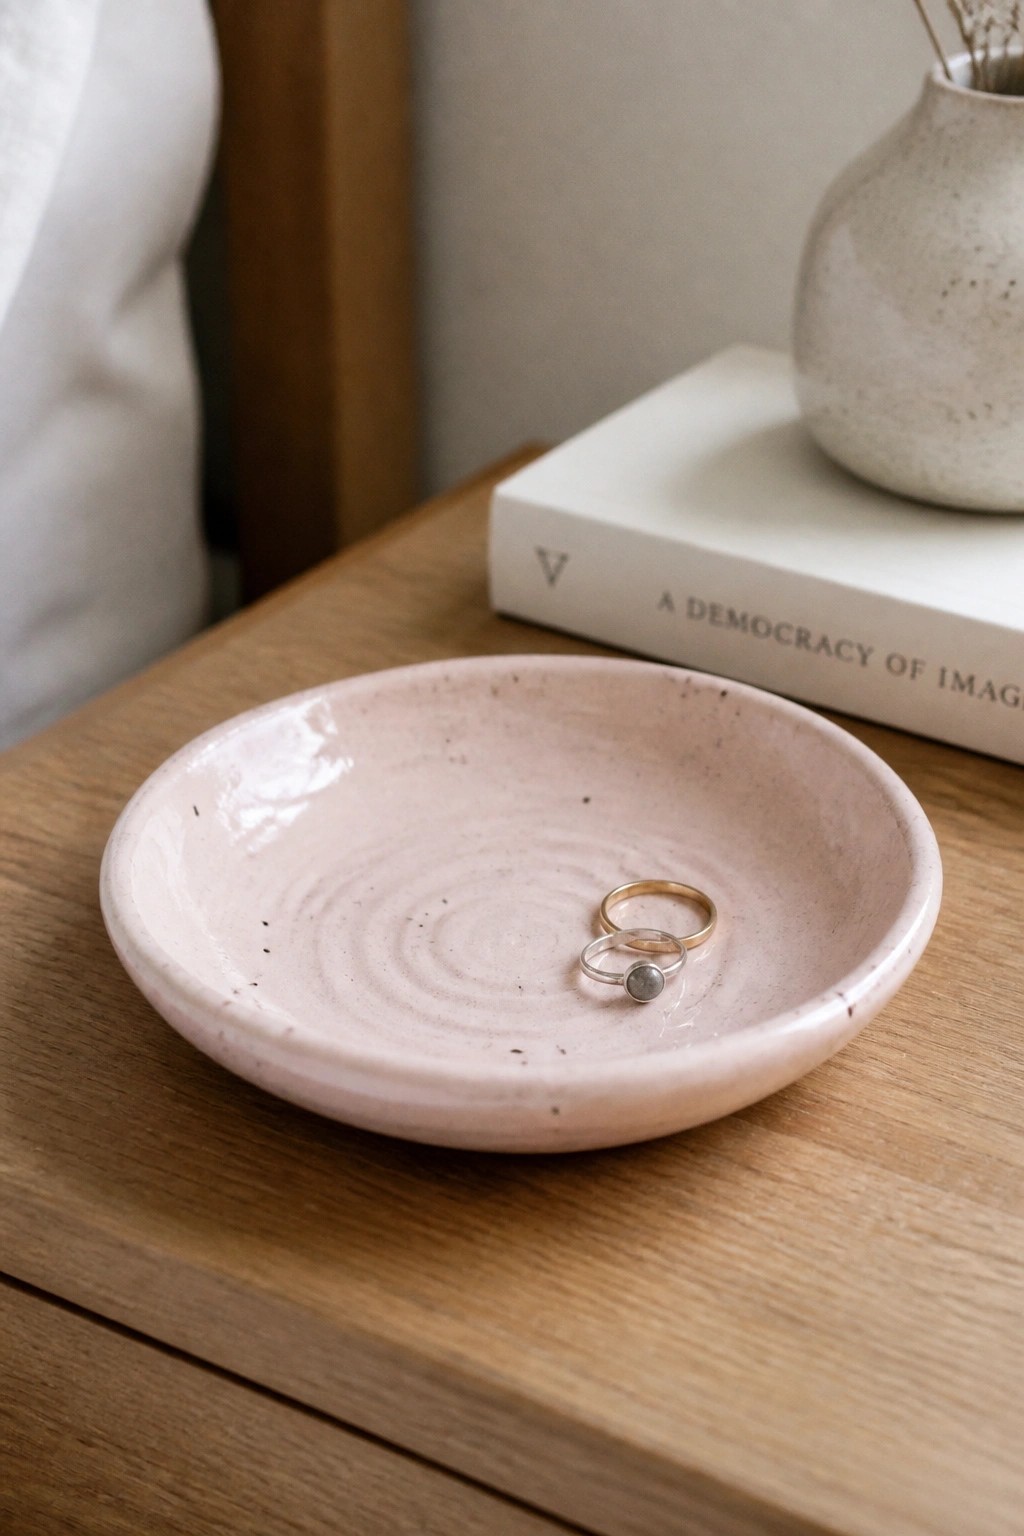
A small wheel-thrown dish makes a practical ring holder when kept shallow and open. The centered throwing rings create a simple surface pattern that guides the eye inward without added carving or stamps. A light speckled glaze in a soft pink tone keeps the piece understated while still showing the clay body underneath.
What makes this idea useful is how quickly it can be thrown once you have the basic bowl form down. The same shape works as a small soap rest or change tray if you widen the base slightly. You could also swap the glaze for a matte white or deep gray to match different spaces while keeping the same compact size.
Divided Salt and Pepper Cellar

A divided bowl like this keeps salt and pepper in one compact wheel-thrown piece instead of two separate containers. The low center wall splits the interior into two sections while the rim notch lets you pour from either side without lifting the whole dish. The light glaze and visible throwing lines keep the surface simple so the divided form stays the main feature. This shape fits the kitchen item category and gives direct practice with consistent walls and a clean partition.
What makes this idea useful is the built-in portion control and easy access on a countertop or table. You could rework the same base into a spice holder by adding a second divider or shorten the walls for a shallower dip dish. The small size makes it quick to throw in batches for gifts or daily use without needing much clay. In a kitchen this kind of piece keeps seasoning within reach while showing off even rim and wall control.
Tealight Holder Bowl
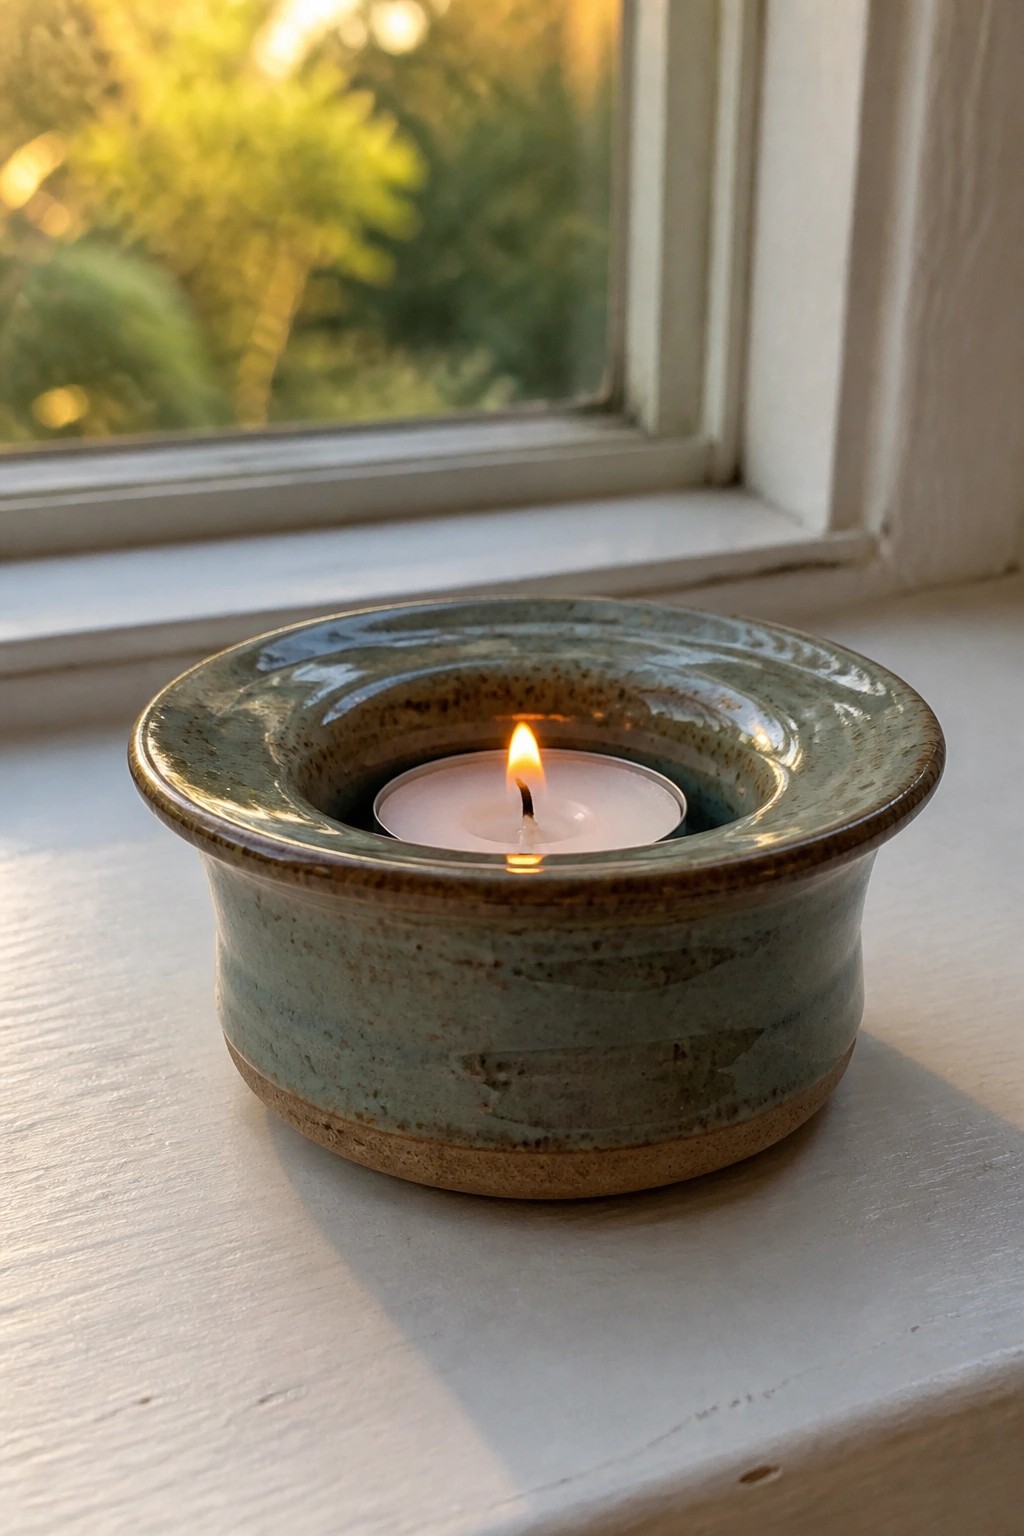
A wheel-thrown tealight holder takes the shape of a low, wide bowl with a gently raised rim that holds a standard tea light in place. The open form keeps the candle centered while the rim helps catch any melted wax. A speckled glaze in muted greens and browns covers the surface and gives the piece a simple, finished look without extra decoration. This project works well for practicing consistent shallow bowls on the wheel.
What makes this idea useful is how the same basic shape can be adjusted slightly wider or deeper to hold different candle sizes. The small scale makes it practical for a desk, bathroom counter, or windowsill where larger pieces would feel out of place. You could make several in one session and change the glaze color on each one to create a quick set. The form also adapts easily into a ring dish or small catch-all by skipping the candle altogether.
Striped Pedestal Bowl

A footed bowl with a wide rim and tapered base gives you a raised form that works for serving snacks or holding fruit on a table. The blue glaze applied in horizontal bands creates soft stripes that follow the curve of the shape and let some of the clay body show through for added texture. Throwing this on the wheel requires keeping the walls even while forming a stable foot that lifts the bowl off the surface. The overall proportions stay simple enough to repeat for practice while still looking finished.
What makes this idea useful is how the foot turns an ordinary bowl into a piece that sits higher and catches light differently. You could scale the same shape down for small dip bowls or switch the glaze colors to match other kitchen items. In a dining space this form stands out because the stripes add movement without extra carving or handles. The same idea also works as a starting point for taller vessels once you get the curve and foot consistent.
Spouted Pouring Bowl
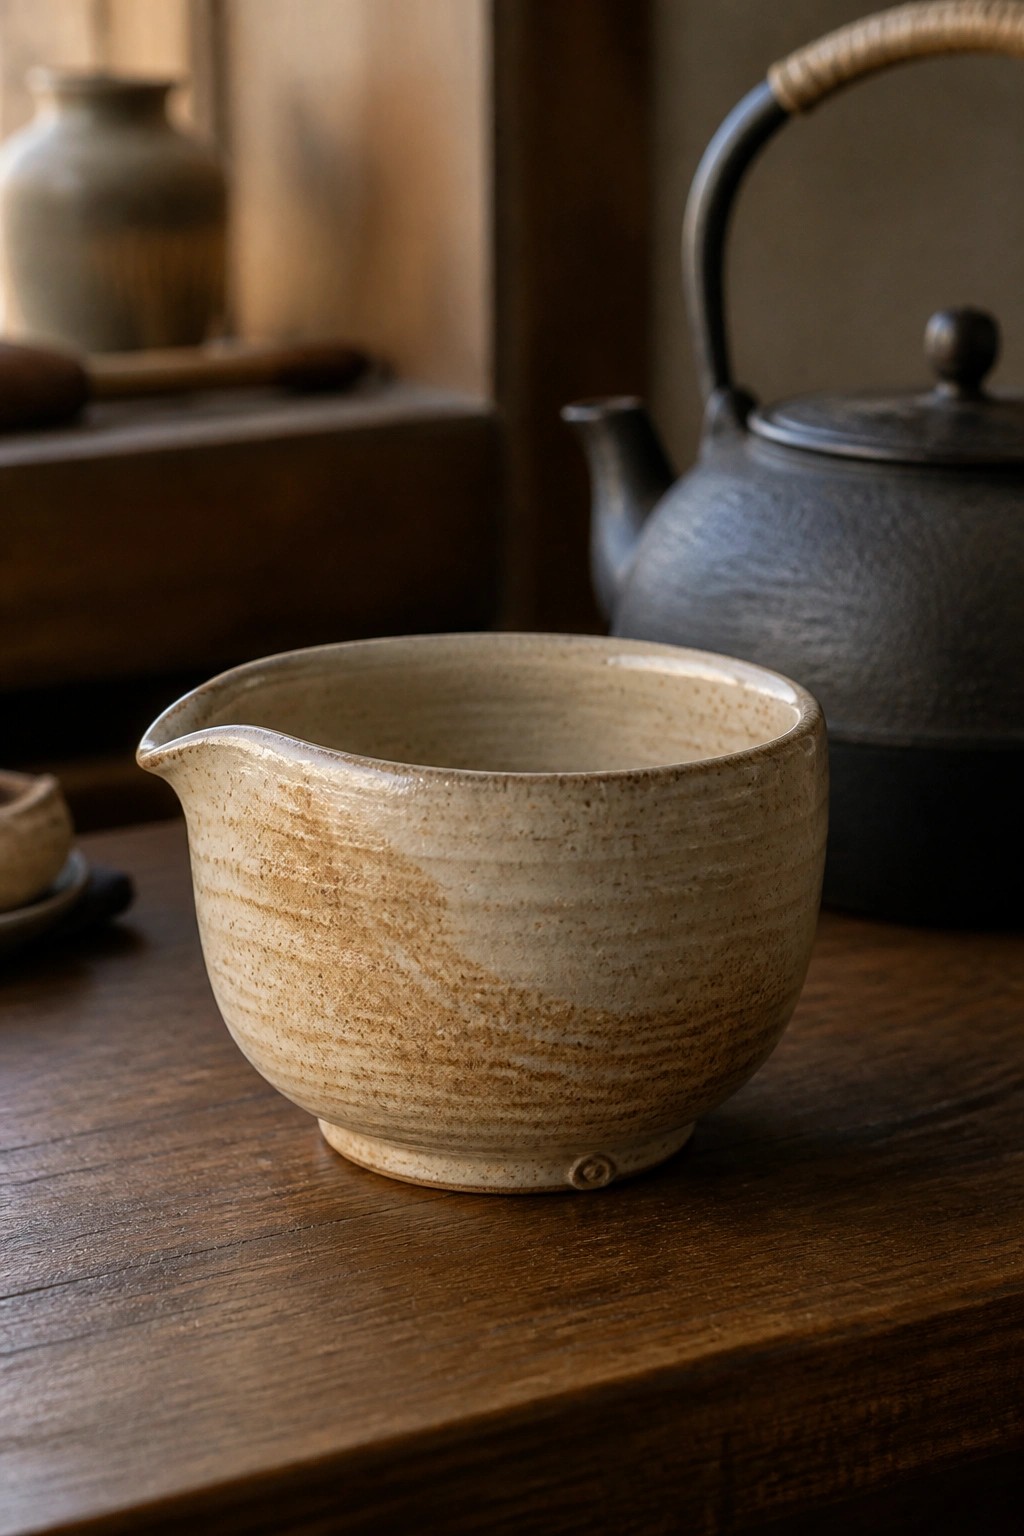
A small wheel-thrown pouring bowl gives you practice shaping a consistent rim and pulling a clean spout on one side. The form stays low and wide with slightly tapered walls that make the spout easy to form without distorting the rest of the piece. A light speckled glaze lets the throwing lines show through while keeping the surface practical for kitchen use.
What makes this idea useful is how the spout turns a basic bowl shape into something functional for sauces or cream. You can repeat the same profile at different heights to build a matching set or stretch the walls taller for a small pitcher. The compact size also makes it a quick project when you want to focus on even thickness and a level base before moving on to larger forms.
Rounded Planter with Matching Saucer
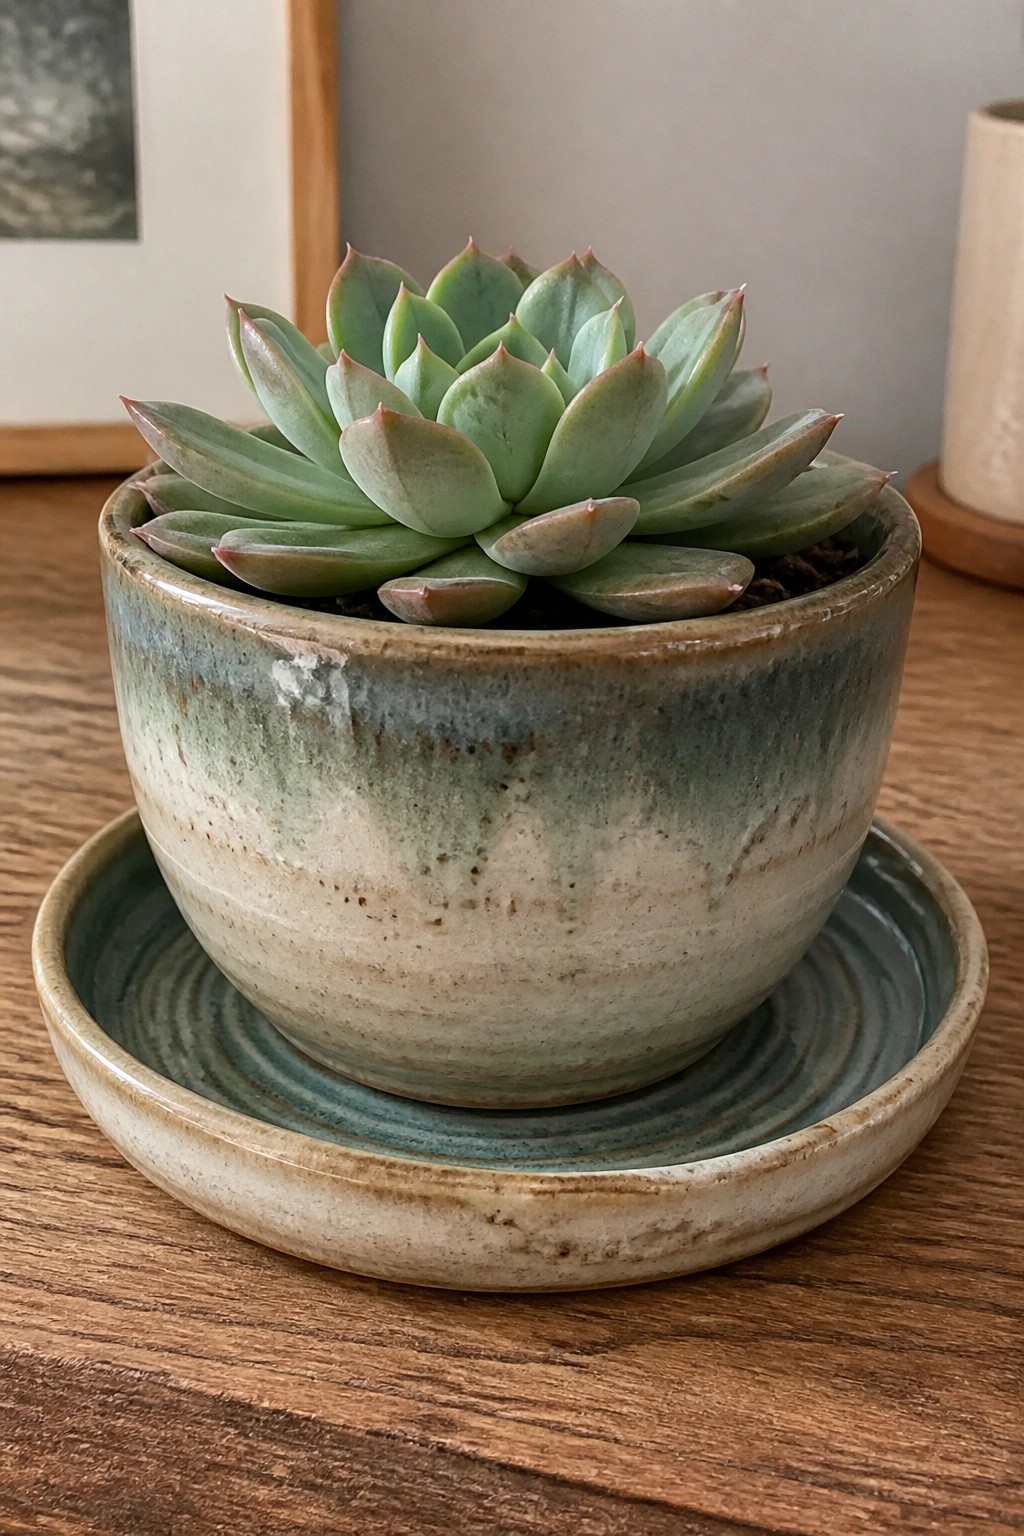
A wheel-thrown planter with a wide, open top and gently curved sides gives you a straightforward form to repeat while practicing even walls and consistent rims. The separate saucer underneath matches the same diameter and sits flat, so the whole set stays balanced. Using a glaze that pools and breaks across the surface adds color variation without needing extra carving or handles.
What makes this idea useful is that the shape scales easily into sets of three or four different sizes for grouping plants together. You can keep the body simple and change only the glaze or rim thickness to create variety across multiple throwing sessions. The saucer adds a practical drainage layer that works on windowsills or tables without extra trays. For another project, the same base form can be adjusted slightly taller to make a small vase or turned shallower for a catch-all dish.
Oval Platter with Minimal Glaze Accent

An oval platter gives you a clear shape to repeat on the wheel while keeping the walls even and the base flat. The simple blue glaze swipe across the center adds contrast without needing extra tools or carving. This kind of piece works as a kitchen tray for bread, cheese, or small sides and stays functional because the form stays low and wide.
What makes this idea useful is how easily the oval can be adjusted for different lengths once you have the basic pull and collaring steps down. You can swap the blue for any single glaze color or leave the center plain if you want faster production. In a kitchen it holds up well for everyday use and the same oval shape can be scaled down into smaller trays or stretched into longer serving boards.
Notched Yarn Bowl for Yarn Management
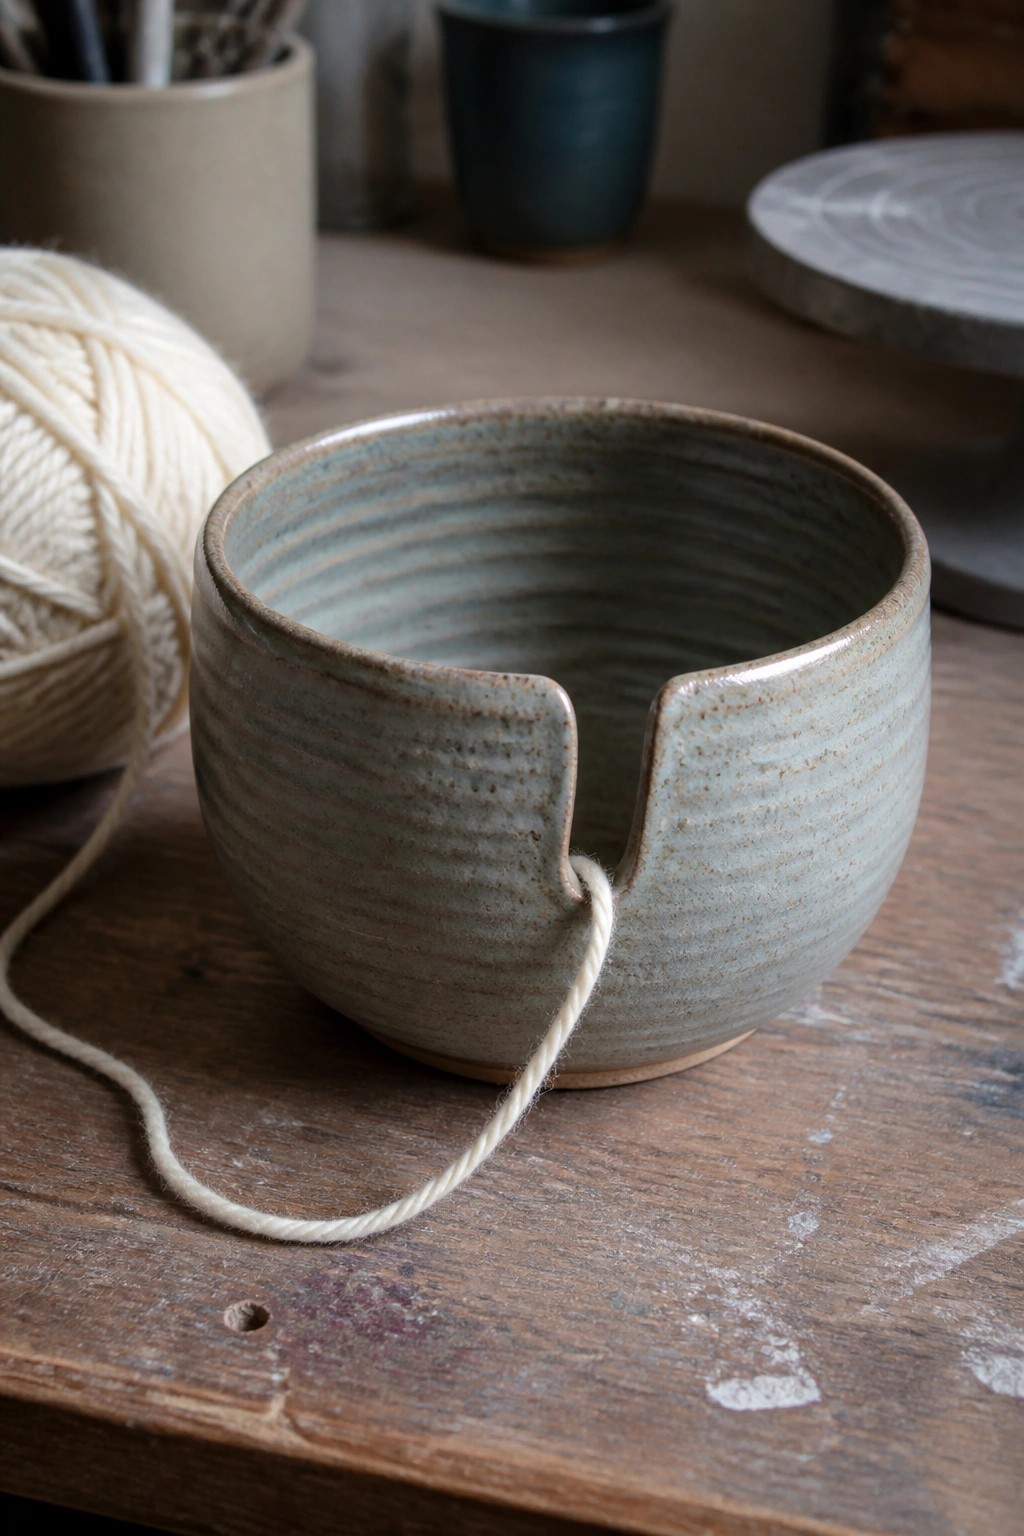
A wheel thrown yarn bowl uses a simple rounded form with a single notch cut into the rim after throwing. The notch holds the yarn strand in place so it feeds smoothly without rolling across the table. Horizontal throwing ridges show through a light blue green speckled glaze that highlights the even walls and consistent curve. This idea belongs in the functional holder category and gives direct practice shaping a stable base and controlled rim.
What makes this idea useful is how the notch transforms a plain bowl into a dedicated knitting tool without extra parts. You can adapt the same profile for different yarn weights by widening or narrowing the cut. In a craft space the compact size keeps yarn contained on a table or shelf while you work. The shape repeats easily if you want a set in different glazes or to gift alongside a skein of yarn.
Spouted Pouring Bowl on a Perforated Tray

A small wheel-thrown bowl with a simple pinched spout works well as a pouring vessel for sauces, dressings, or tea. The dark glaze on the interior and rim contrasts with the lighter clay at the base, while the visible throwing lines add subtle texture without overpowering the form. Pairing it with a round tray that has drilled holes keeps the scale consistent and gives the set a functional surface for catching drips.
What makes this idea useful is how the spout turns a basic bowl into a more practical kitchen piece without adding much complexity. You can adapt the same shape by making a taller version for milk or a wider one for syrups, or skip the spout entirely to practice plain bowls. The small size helps when you want to throw several matching pieces in one session to build even walls. For Pinterest, the combination of the dark glaze and the tray with holes gives the project a clean, finished look that reads as a complete set.
Frequently Asked Questions
How can I track my progress in achieving consistent shapes during these wheel throwing exercises?
Measure the height, width, and wall thickness of each piece with calipers after throwing and record the numbers in a notebook. Compare several pieces from the same session to spot variations, then adjust your hand pressure or speed on the next round. Over time this data shows clear improvement in uniformity without relying on guesswork.
What tools besides the wheel are most useful for these simple practice ideas?
A basic set includes calipers for measurements, a sponge for controlling moisture, wooden ribs for smoothing surfaces, and a wire tool for cutting pieces off the wheel. These items help refine forms quickly and maintain even walls while focusing on repetition rather than decoration.
How often should beginners practice these exercises to build better consistency?
Aim for short sessions three or four times a week rather than long marathons. Each session can focus on just two or three of the listed ideas, allowing muscle memory to develop without fatigue. Many potters notice steadier forms after four to six weeks of steady repetition.
What common mistakes prevent consistent shapes when following these wheel throwing ideas?
Rushing the centering step often leads to uneven walls, while using too much water softens the clay and causes collapse. Another frequent issue is changing hand position mid throw instead of keeping steady pressure. Slow down, recenter fully each time, and keep water use minimal to avoid these problems.
How do these basic practice ideas translate to making functional pottery later?
Repeating simple cylinders and bowls trains even wall thickness and controlled height, which directly supports adding handles, lids, or trimming feet on finished pieces. The muscle memory from consistent forms reduces waste and speeds up production when moving to more complex work.

Pottery Path is my cozy corner of the internet where I share clay ideas, pottery inspiration, and simple projects you can recreate at home. I love exploring everything from air dry clay to handbuilt pottery to cute minis that brighten your day. My goal is to make clay crafting feel easy, fun, and welcoming for anyone who wants to try it.
You will find beginner friendly tutorials, creative pottery painting ideas, and lots of warm inspiration for slow and happy crafting. If you enjoy hands on creativity, this space will feel like home.