Ever found yourself struggling to reach those high branches with your pole pruner? What if there was a simple solution to get it working smoothly again? Picture this: the sun is shining, the birds are chirping, and your pole pruner is ready for action. Sounds like a dream, doesn’t it?
Assessing the Condition of the Current Rope
When inspecting the current rope on your pole pruner, look out for the following signs to determine if it needs replacement:
- Frayed or Worn Areas: Check for any parts of the rope that are frayed, excessively worn, or damaged.
- Knots or Tangles: Ensure the rope moves freely without any knots or tangles that could impede its functionality.
- Loss of Tension: Test the tension of the rope to see if it can still effectively operate the pruner.
By conducting a thorough assessment of the rope’s condition, you can decide if it’s time to proceed with re-roping your pole pruner.
Choosing the Right Replacement Rope
When it comes to choosing the right replacement rope for your pole pruner, there are a few key factors to consider:
- Material: Look for durable materials like braided polyester or polypropylene that offer strength and resistance to wear.
- Diameter: Ensure the diameter of the rope matches the pruner’s specifications to guarantee a proper fit and smooth operation.
- Length: Measure the length needed by running the rope along the pruner and adding some extra for adjustments.
- UV Resistance: Opt for a rope that is UV-resistant to prevent degradation from sun exposure and extend its lifespan.
Selecting the right replacement rope is crucial for maintaining the efficiency and performance of your pole pruner.
Recommended Products

High-quality PR-20 Tree Pruner rope: Measuring 20 feet long, this product is a sturdy tree pruner rope that is compatible with Jameson Fiskars pruners.
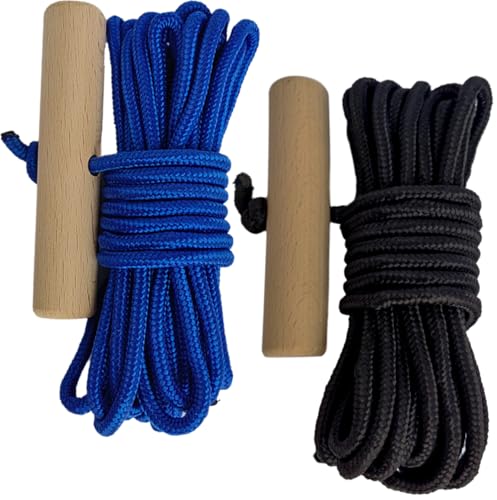
【Practical Tree Pruner Rope】This tree pruner cord replacement for Jameson Fiskars Big Mouth Manual Pole Saw and Tree Pruner is a versatile must-have tool that ensures smooth operation when pruning trees.
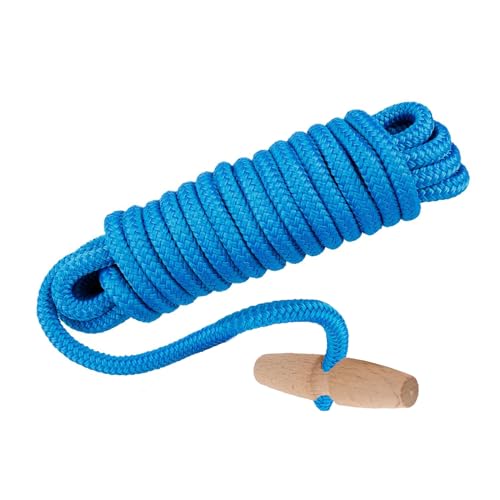
PR-20 Tree Pruner Rope Replacement, for Jameson Fiscar Big Mouth Manual Pole Saw & Tree Pruner,20 feet long with a 5/16 inch diameter(with Wooden Handle)
Removing the Old Rope
When Removing the Old Rope from your pole pruner, follow these simple steps:
- Locate the knot at the base of the pole pruner.
- Untie the knot carefully, ensuring not to damage the pole pruner or yourself.
- Gradually unwind the old rope from the pulleys, moving towards the cutting head.
- Inspect the rope for any signs of wear or damage that may have contributed to its replacement.
Remember, safety first when removing the old rope to prevent any accidents or injuries.
Attaching the New Rope
- Step 1: Feed the end of the rope through the hole at the cutting head assembly.
- Step 2: Tie a secure knot at the end of the rope to prevent it from slipping back through the hole.
- Step 3: Thread the rope through the pulleys in the same way the old rope was installed.
- Step 4: Adjust the rope tension by pulling it snugly but not too tight before securing it in place.
| New Rope Attachment Tips |
|---|
| Always ensure the rope moves smoothly through all components. |
| Test the pole pruner to check the functionality of the new rope. |
Recommended Products
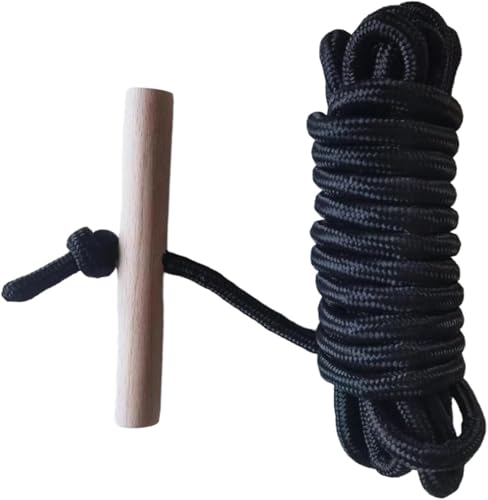
【High Strength Nylon Industrial Silk】Tree trimming rope for jameson uses high-strength nylon industrial silk as the raw material, the molecular structure is tight, resistant to repeated friction, and the strength is 30% to 50% higher than ordinary nylon silk

【High Strength Nylon Industrial Silk】Tree trimming rope for jameson uses high-strength nylon industrial silk as the raw material, the molecular structure is tight, resistant to repeated friction, and the strength is 30% to 50% higher than ordinary nylon silk

ArrogantF PR-20 tree pruner rope replacement part number: PR-20,Compatible with Jameson Fiskars manual tree pruners. Pole saw rope measures 20 feet long with a 7.5mm diameter and has a wooden handle for ease of use.
Testing the Pole Pruner
When testing the pole pruner after re-roping, ensure the rope moves smoothly through all components:
- Check for any obstructions or snags.
- Ensure the rope runs freely through the pulleys.
- Test the tension by pulling the rope gently.
Verify the functionality of the new rope by:
- Engaging the pole pruner and observing the movement.
- Confirming that the cutting head assembly responds to rope activation.
- Loosen or tighten the knot accordingly.
- Repeat the testing process to ensure proper function.
| Key Points | |
|---|---|
| Smooth Movement | Check for obstructions and snags. |
| Pulley Function | Ensure rope operates smoothly through pulleys. |
| Functional Testing | Verify cutting head assembly response. |
| Tension Adjustment | Adjust knot tension as required. |
Conclusion
You’ve now learned the essential steps to re-rope a pole pruner successfully. Remember to test the movement of the rope thoroughly, check for any obstructions, and ensure the tension is just right. By verifying the functionality of the new rope and adjusting the knot tension as needed, you’ll guarantee smooth operation of your pole pruner. Keep in mind the importance of conducting functional testing and making adjustments to achieve optimal performance. With these key points in mind, you’re all set to tackle re-roping your pole pruner with confidence. Happy pruning!
Frequently Asked Questions
What should I check after re-roping my pole pruner?
After re-roping your pole pruner, check for smooth rope movement through all components, clear any obstructions, and test the tension to ensure proper functionality.
How can I verify if the new rope is working correctly?
Engage the pole pruner to confirm the cutting head assembly’s response. This test helps ensure that the new rope is functioning as intended.
Why is it important to adjust knot tension after re-roping?
Adjusting the knot tension is crucial to ensure optimal functionality of the pole pruner. Proper tension helps in smooth operation and efficient cutting.
What steps should I follow to test the pole pruner after re-roping?
Check for smooth movement, verify pulley function, conduct functional testing by engaging the pruner, and adjust knot tension as necessary for effective testing.
I’ve always been drawn to trees.As a kid, I spent most of my free time outside, climbing, exploring, and trying to figure out the names of the trees around me.That early curiosity eventually led me to study arboriculture and horticulture at Michigan State.Later, I completed a degree in forestry at the University of Michigan.
I’ve been working in tree care and education ever since.These days, I enjoy helping people learn more about the trees in their own backyards.How they grow, how to care for them, and why they matter.You don’t need to be an expert to appreciate trees.A little curiosity goes a long way.