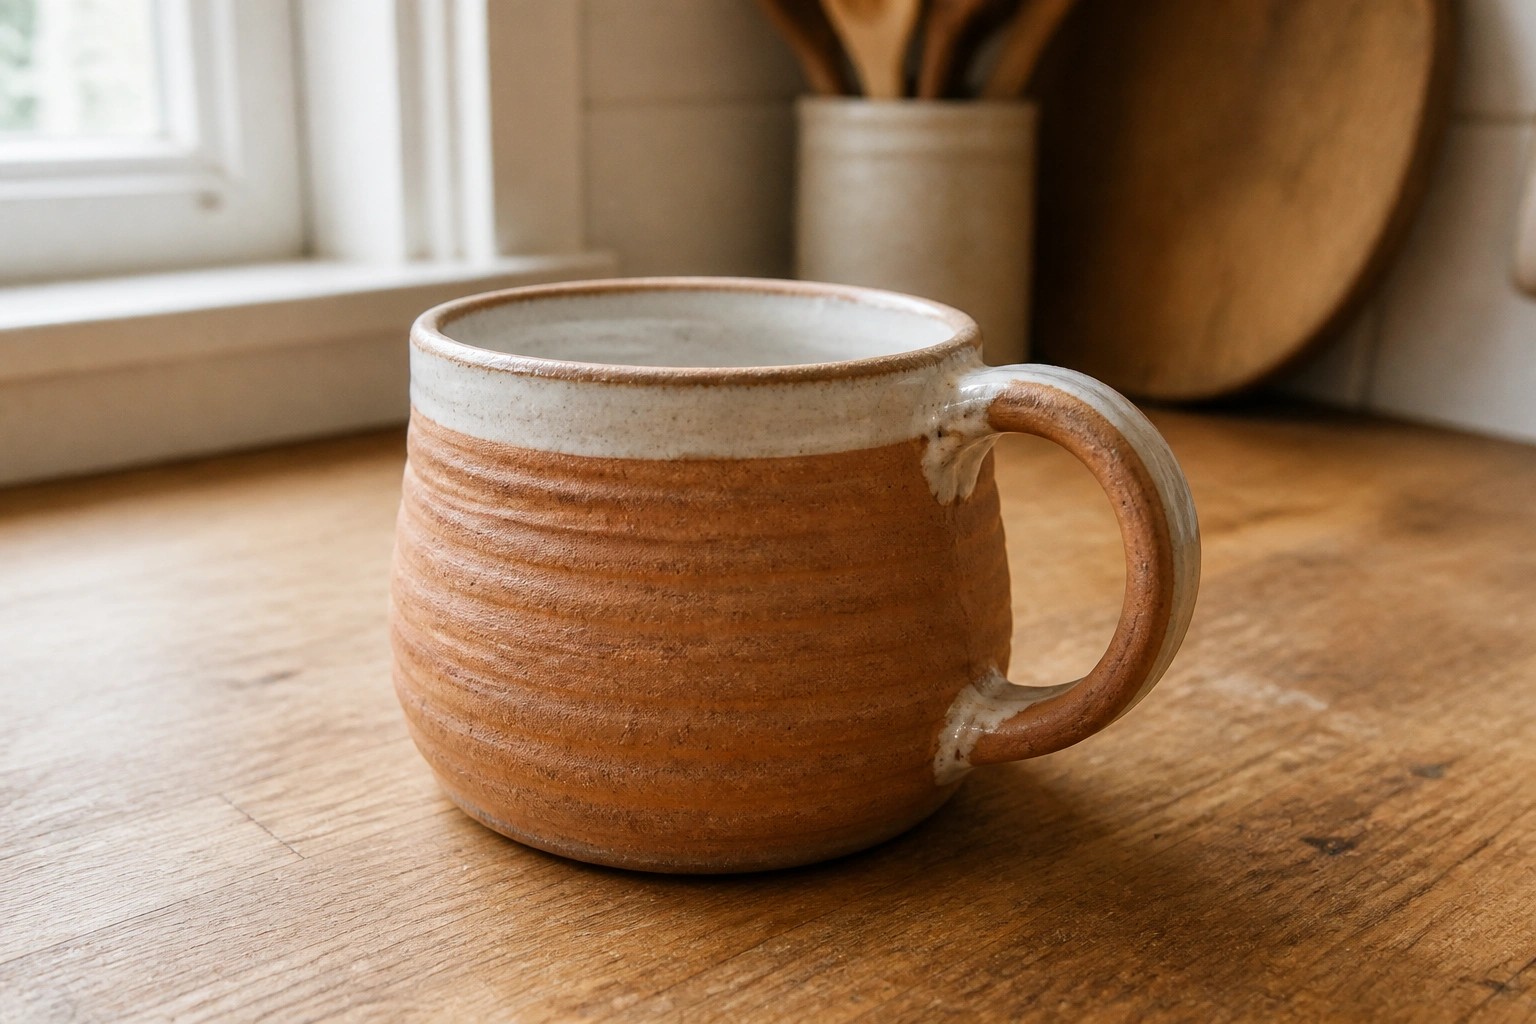
I’ve been making coil pots for a bit now and it’s a method that works well if you want to build things slowly by hand.
The rustic versions fit in with my other handmade stuff around the house.
I came up with these ideas because they seemed doable for someone just starting out.
None of them need special skills or tools beyond what most people have.
You can adapt them as you go and see what shapes you end up with.
Rustic Coil Built Mug with Light Rim
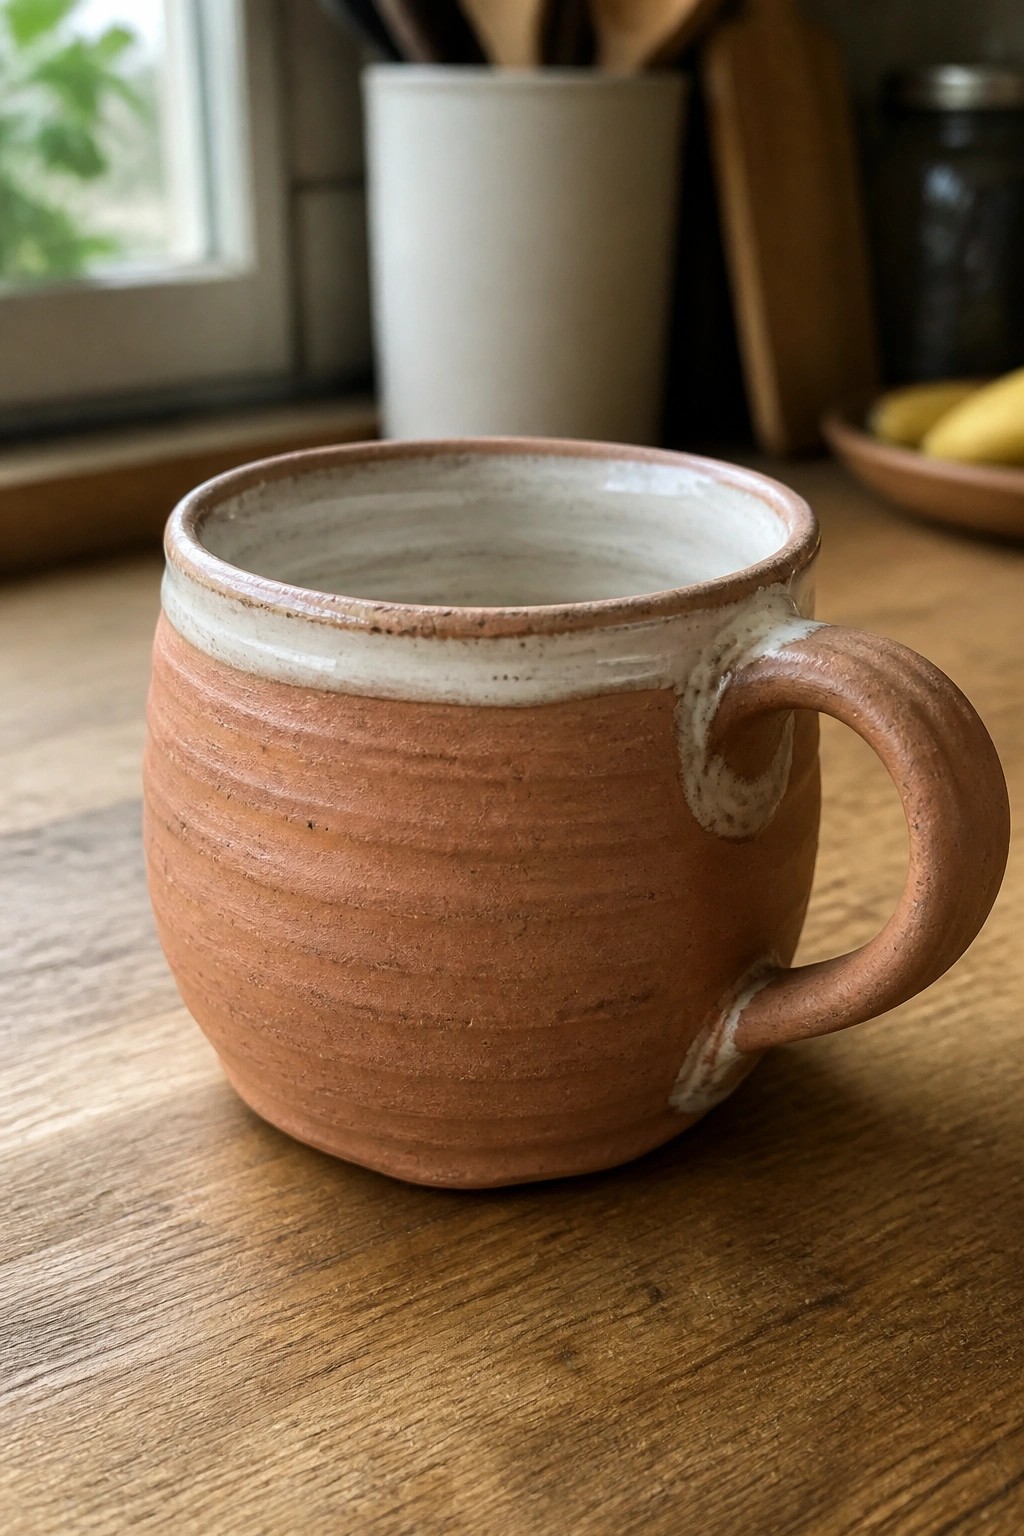
A coil built mug starts with ropes of clay stacked and smoothed into a rounded, sturdy cup shape that shows the horizontal ridges from the building process. The terracotta clay body paired with a pale slip or glaze along the rim creates a simple contrast that draws attention to the thick walls and uneven handmade edges. This style fits the mug category as a functional drinking vessel that still keeps the visible texture of hand-coiled construction.
What makes this idea useful is how the coil method lets you build a thicker, more stable form without needing a wheel or perfect symmetry. The shape works especially well as a kitchen cup for coffee or tea and can be adapted by changing the rim color or adding a slightly wider base for better balance. You could rework the same idea into a small soup bowl by shortening the height or turning it into a set of matching mugs for gifts.
Coiled Ridge Breakfast Bowl
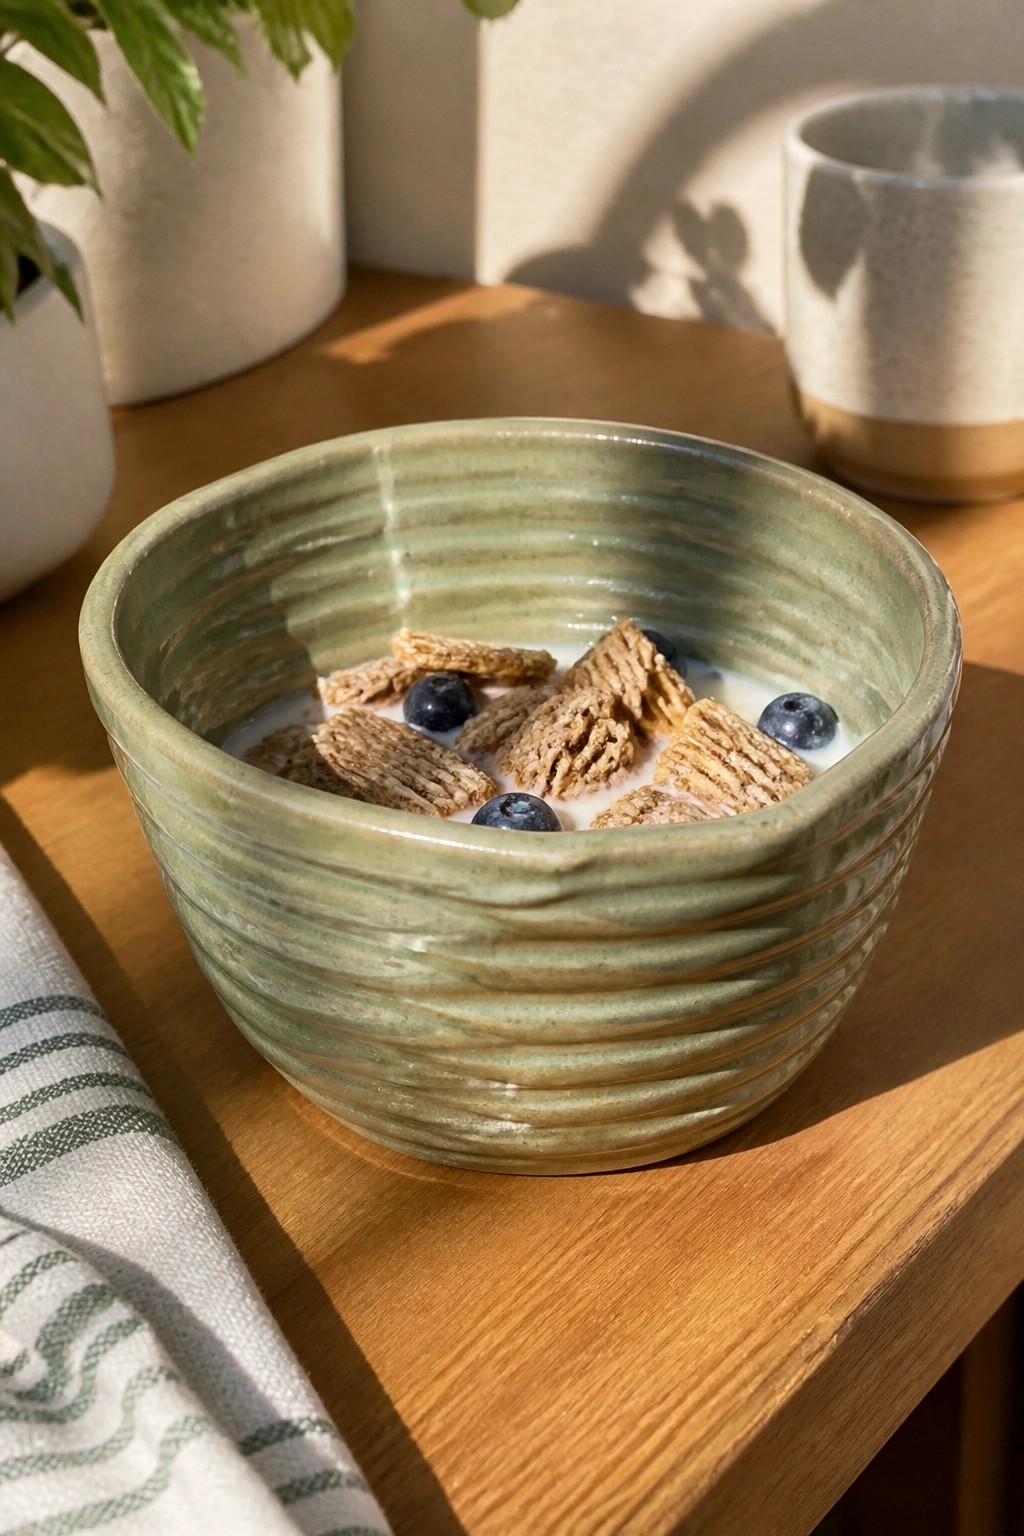
A coil-built bowl makes a practical kitchen piece when you stack the coils to create even horizontal ridges that show the construction method. The wide, low shape holds cereal or fruit portions well, and a soft green glaze lets the ridges catch light while keeping the surface easy to clean. This approach fits the bowl category for beginners who want visible texture without carving or trimming.
What makes this idea useful is how the ridges add interest on their own, so you can focus on even walls and a simple rim instead of extra details. The same coil method works for a taller soup bowl or a shallow berry bowl by changing the height and curve. Use the green glaze on the inside only if you want to save material, or try a matte finish on the outside for more grip when carrying. A piece like this photographs clearly on food blogs because the texture reads well next to everyday meals.
Fern-Pressed Clay Tray
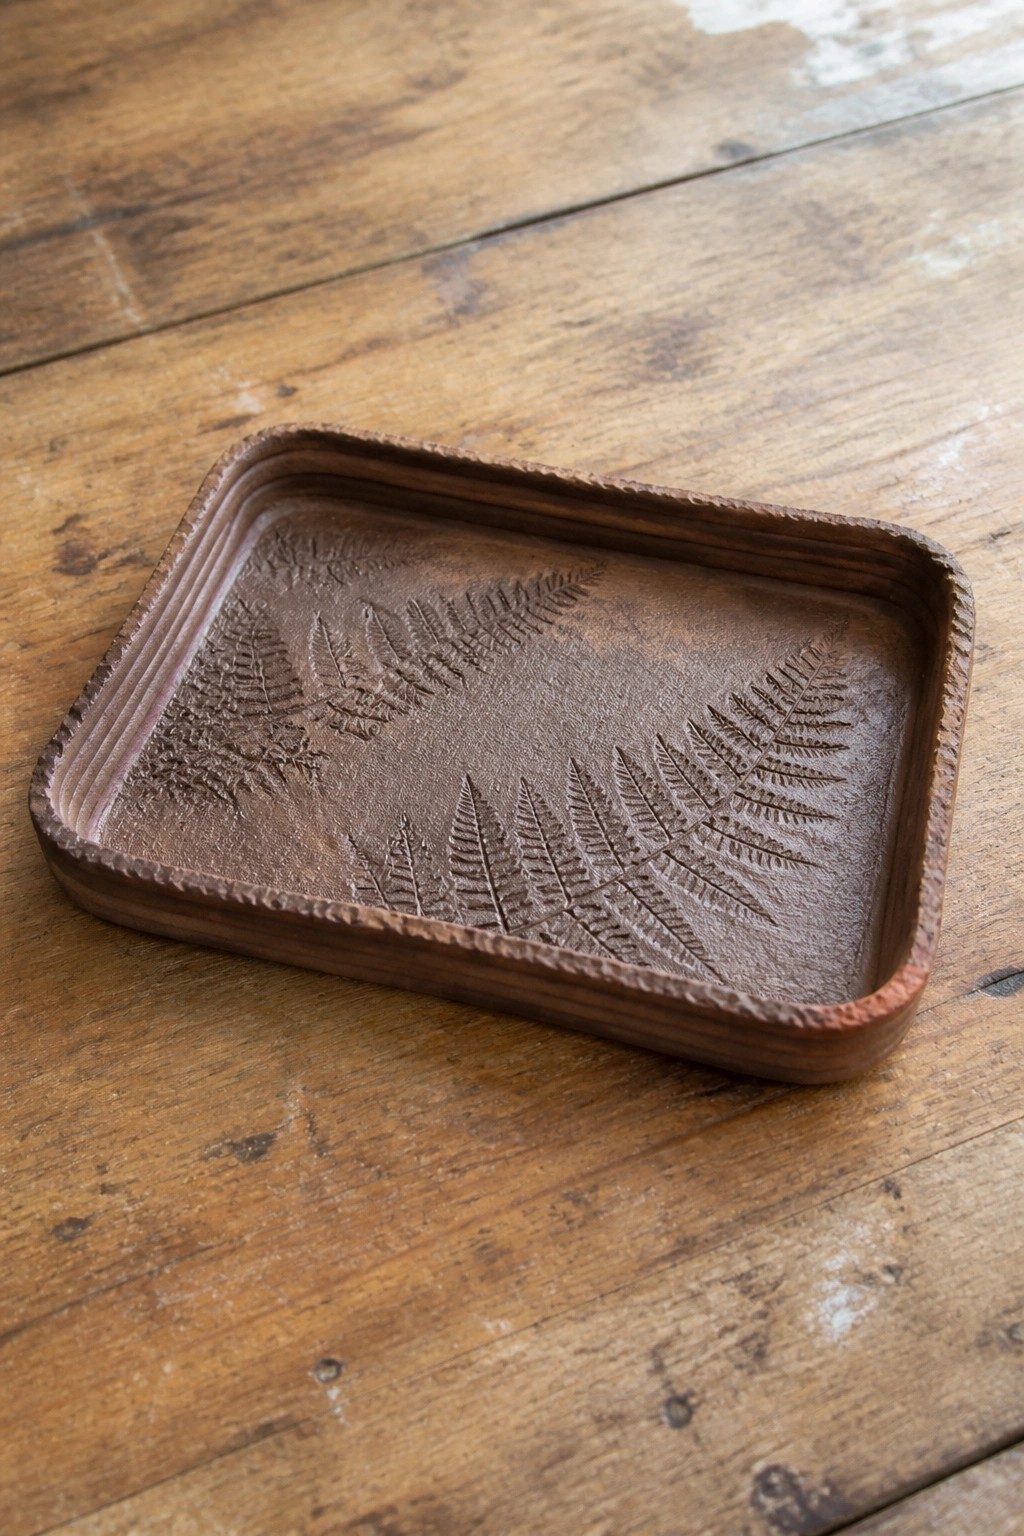
A rectangular clay tray built from a simple slab gives you a flat surface for pressing fresh fern leaves directly into the clay. The leaves leave behind detailed vein patterns that create subtle relief across the base while the raised edges keep the form functional. This keeps the design focused on texture rather than added color or glaze, and the low profile works well for holding small everyday items.
What makes this idea useful is how the leaf impressions need almost no extra tools or skills beyond rolling out clay and gathering plants. The same approach adapts easily to smaller square dishes or round catch-all trays by changing the slab size. In a kitchen or entryway, the open shape holds keys or mail while the fern detail stays visible without overwhelming the space. You could rework the idea into coasters by cutting the clay into smaller rectangles before pressing the leaves.
Coiled Cylinder Planter with Drainage Hole
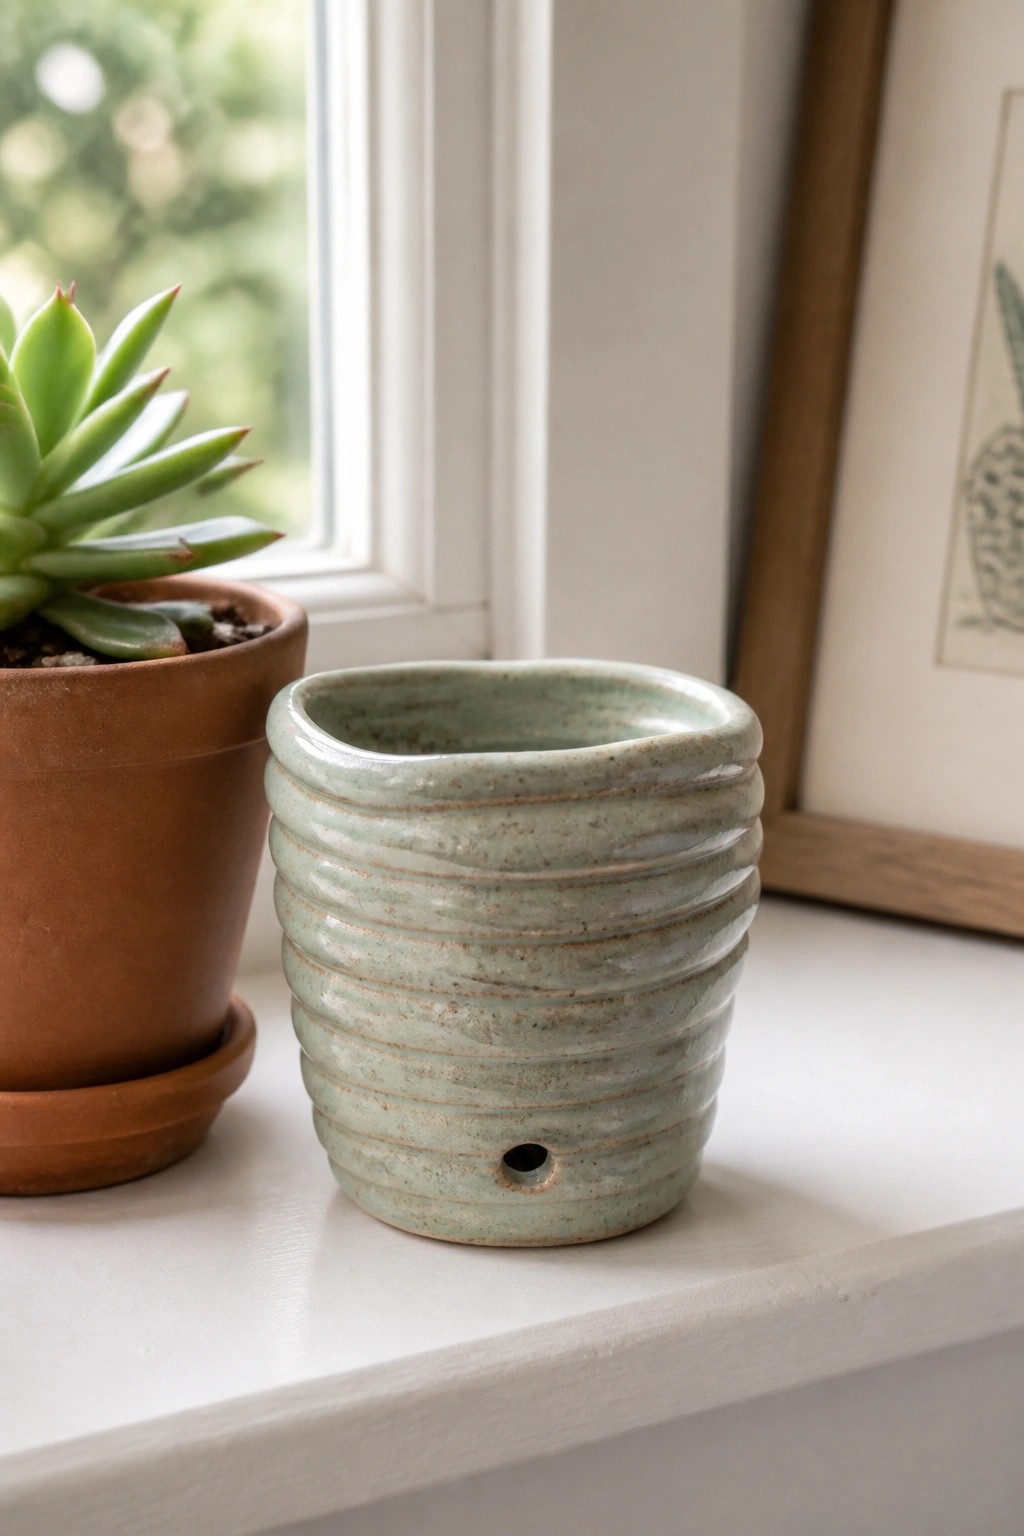
A small cylindrical form built from stacked coils produces a compact planter suited for succulents or small herbs. The visible coil lines create even horizontal ridges that give the surface texture and structure without added tools or carving. A soft green speckled glaze covers the outside while a single drainage hole near the base keeps the piece practical for live plants.
What makes this idea useful is its straightforward size that fits on narrow windowsills or crowded shelves. You can scale the diameter up slightly for a larger plant or shorten the height to make a simple desk holder instead. The same coil ridges work on other basic shapes like a small vase or utensil cup, so the technique carries over easily to different objects.
Freeform Coil Dish for Kitchen Counters

A small hand-coiled dish with an irregular outline and a shallow central well works as a spoon rest or drip catcher near the stove. The interior shows simple smoothing lines that direct liquid toward one side, while the brown rim stays unglazed to highlight the clay edge against the glossy white surface. This approach keeps the build straightforward yet gives the piece a clear function without added parts.
What makes this idea useful is how the same shape adapts to hold soap by the sink or small portions of salt and herbs while cooking. You can stretch the form longer for a chopstick rest or shrink it into a ring dish by adjusting the coils early on. The two-tone finish helps the piece photograph clearly on a beginner project board without extra decoration.
Flower Shaped Ring Dish
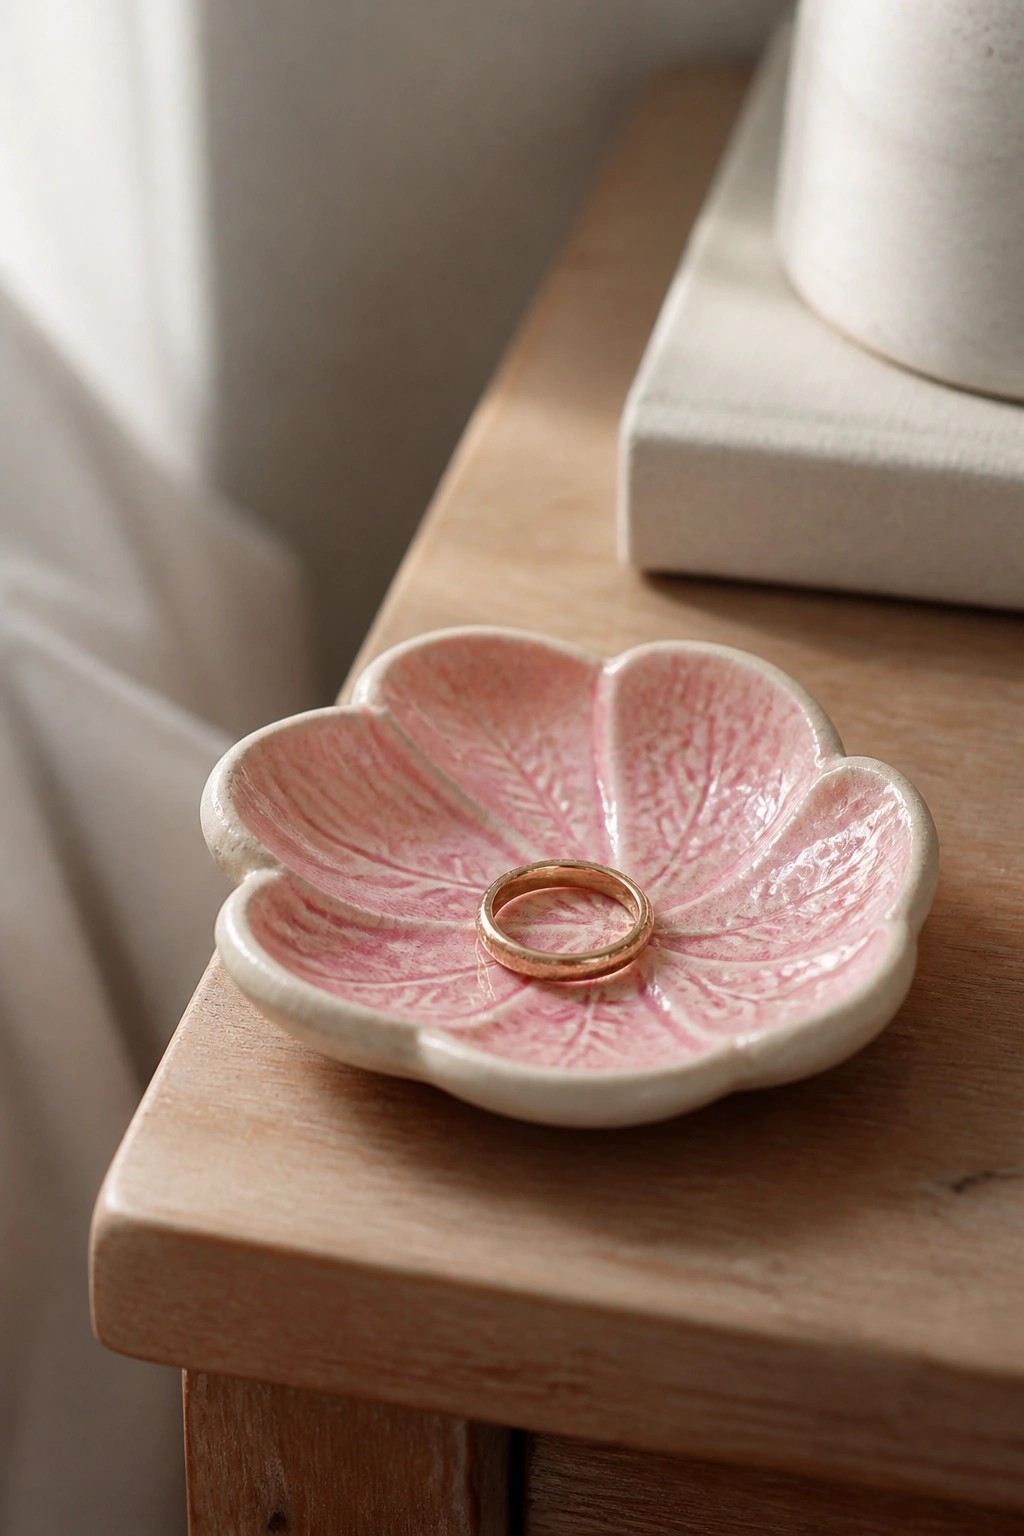
Shape coils into a shallow five-petal form with a raised rim around the center to hold rings. Press leaf textures into each petal before applying a pink glaze that settles into the lines and leaves the edges lighter. The small size and simple petal layout keep the project manageable while the impressed details add interest without extra tools.
What makes this idea useful is how it fits on a bedside table or bathroom counter for everyday ring storage. You can adjust the number of petals or swap the glaze color to match different rooms. The same coil base works for a small soap rest or coin tray if you widen the center slightly.
Stacked Coil Tea Light Holder
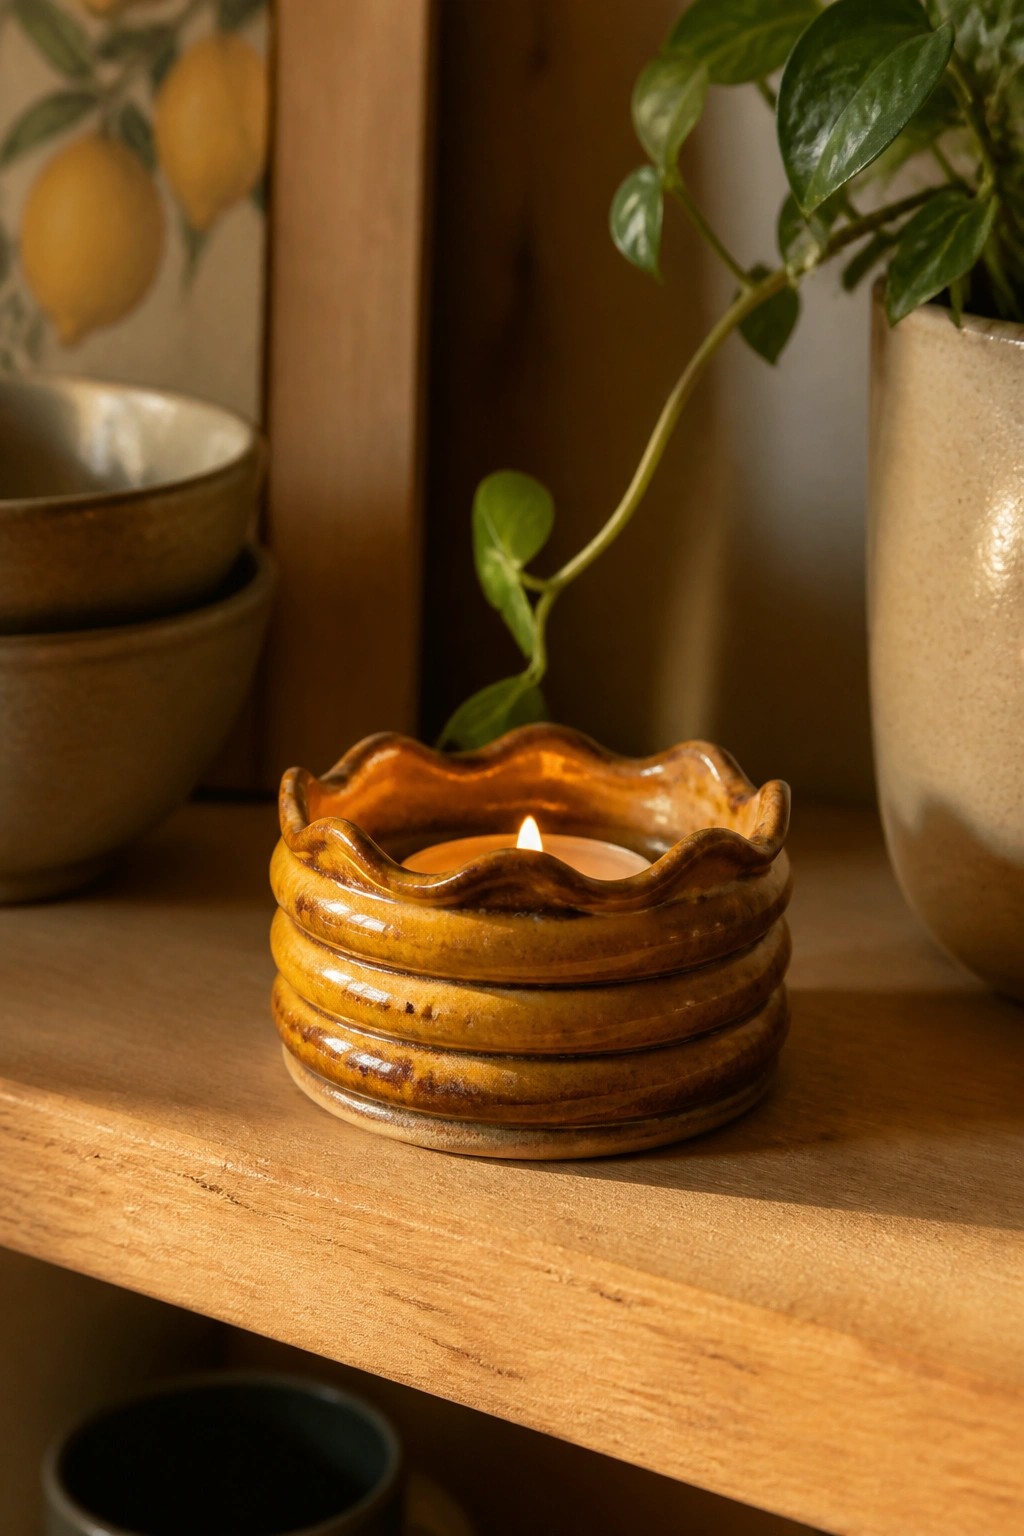
A small candle holder built from stacked clay coils creates a low, wide base that holds a standard tea light. The coils remain visible on the exterior to emphasize the hand-built construction, while the top edge is shaped into a gentle wave. A warm brown glaze with slight variations in tone brings out the texture without covering the form completely.
What makes this idea useful is how the stacked coil method builds height quickly while keeping the project compact and low on material. The same approach works for a ring dish or small trinket holder by flattening the rim and reducing the overall diameter. In a kitchen or entryway, the earthy glaze pairs easily with wood and stone surfaces, and the wavy edge can be swapped for a straight or pinched rim to change the look without new techniques.
Coiled Botanical Wall Hanging

A round clay slab built with coils forms the base for this wall hanging. A thick twisted coil wraps the outer edge to create a braided border while pressed stems and flower clusters add raised botanical details across the center. A small hole at the top holds cord for hanging. The matte speckled glaze leaves the clay texture and impressed lines visible.
What makes this idea useful is how the coil border gives the piece a finished frame without extra tools or attachments. You can press different garden leaves or simple line patterns to change the look while keeping the same round shape. This size hangs easily in a narrow hallway or above a desk where bigger pieces feel out of place. Scale the same coil technique down to make a set of smaller plaques for a grouping on one wall.
Clay Bird Figurine
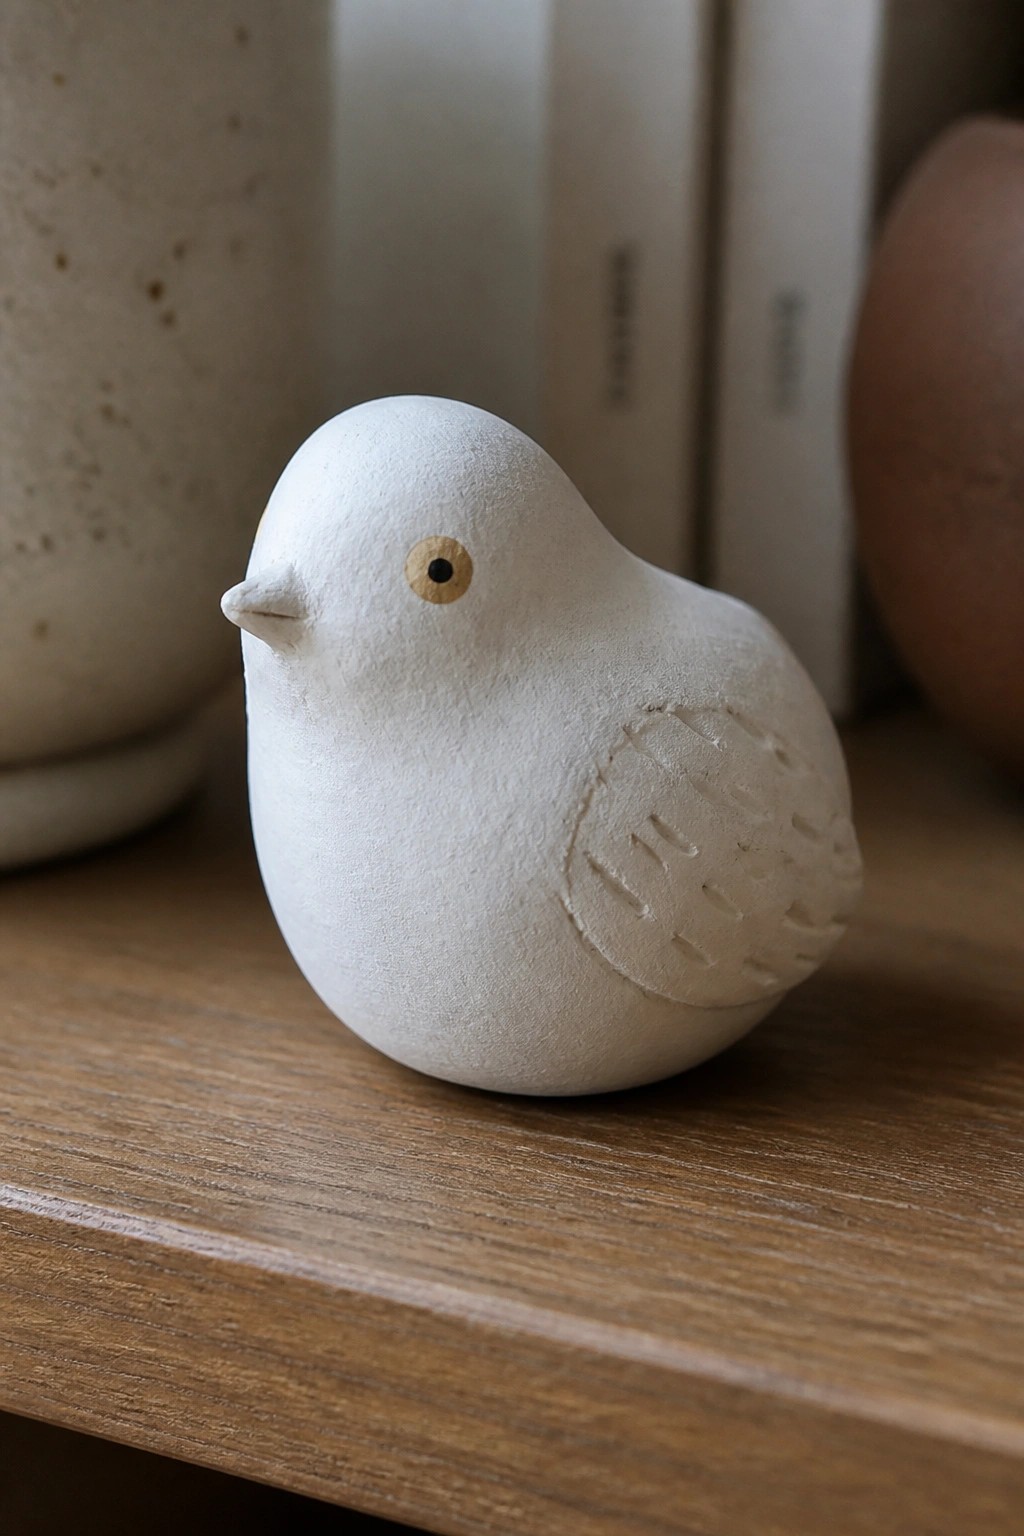
A small bird figurine formed from white clay makes a straightforward decor piece that relies on a rounded body and simple sculpted wing. The minimal carving on the wing and single painted eye keep the shape readable while showing the handmade surface. This approach fits the figurine category and works at a small scale that does not require much clay or workspace.
What makes this idea useful is how the same rounded form can be reshaped into other birds or left without the wing lines for a plainer version. It sits well on shelves, mantels, or desk corners where larger pieces would not fit. You could change the eye color or add a tiny base to turn it into a paperweight without changing the overall construction. The compact size also makes it quick to batch out for gifts or to test different surface finishes.
Coiled Salt Cellar and Lidded Jar Set
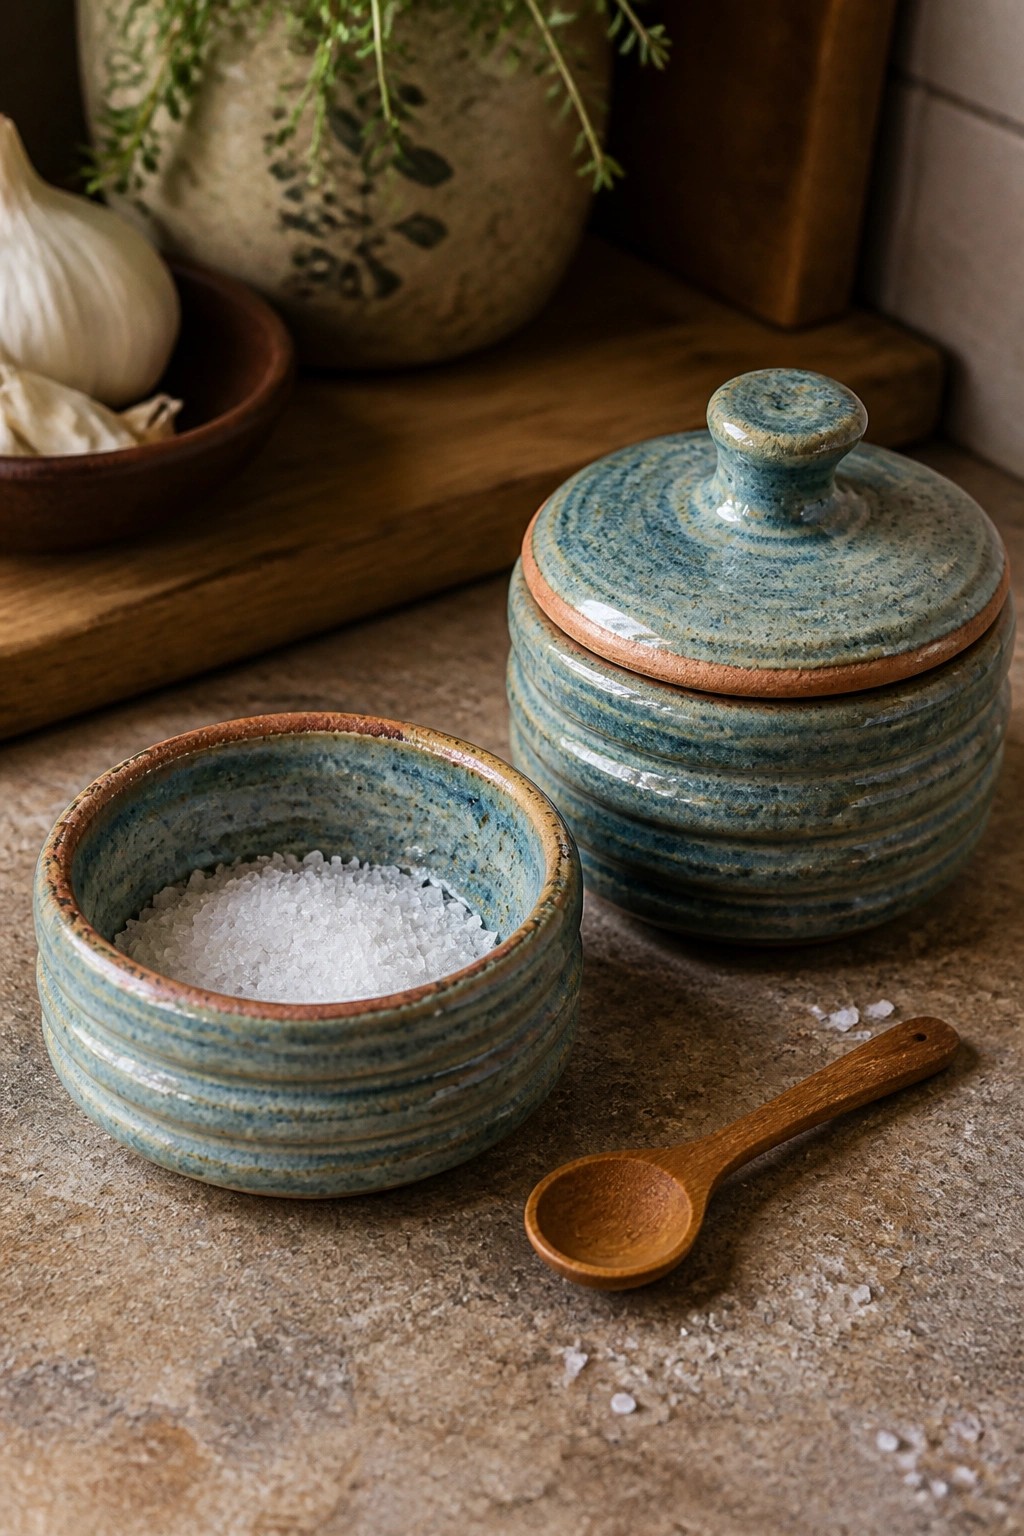
A small open bowl and a matching lidded jar both built from coils create a simple kitchen storage pair. The bowl works as a salt cellar or spice dish for daily use, while the jar keeps larger amounts sealed. The visible coil ridges give the surfaces a clear handmade texture, and the blue-green glaze unifies the two pieces without extra decoration.
What makes this idea useful is that the same coil method produces both an open dish and a closed container. You can make the jar taller for sugar or coffee, or add more bowls in different sizes for other seasonings. The lid fits well for countertop storage, and the small scale keeps the project quick to finish. This would be easy to turn into a set of three or four matching pieces for a gift.
Divided Ceramic Toothbrush Holder
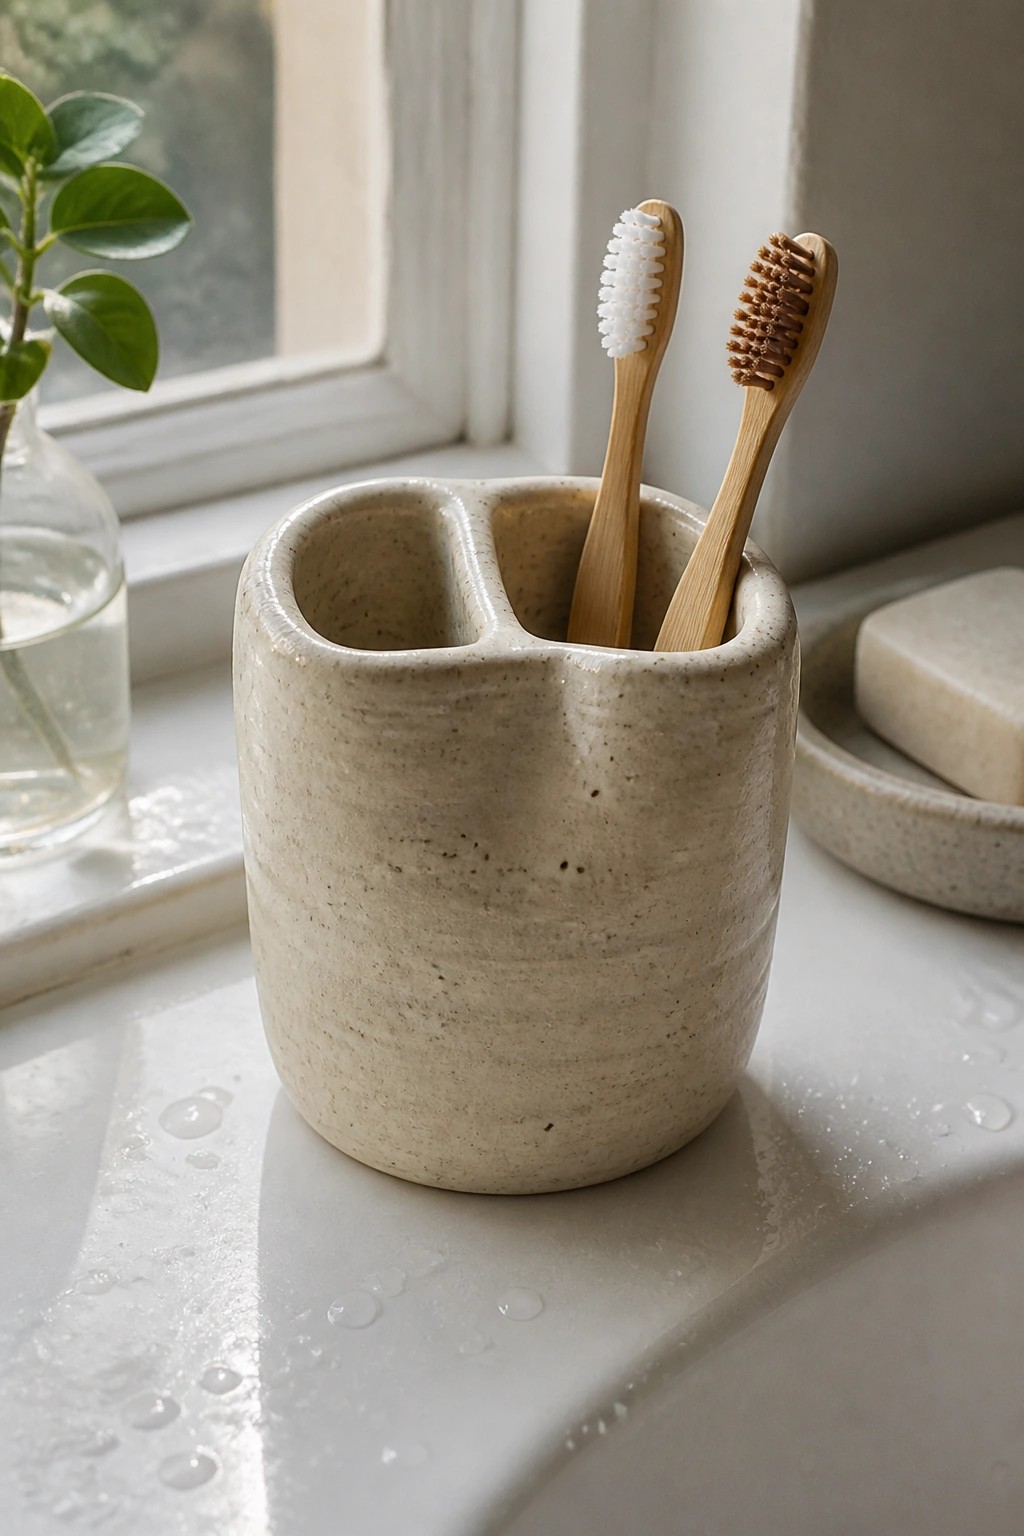
A two-section ceramic holder makes a practical bathroom item for keeping toothbrushes upright and separate. The form is built as a single rounded cylinder with a pinched center wall that creates two distinct compartments. The speckled clay surface and slightly uneven rim give the piece a simple, organic finish that pairs easily with other matte bathroom pieces like soap dishes.
What makes this idea useful is how the divided shape keeps items from touching while still using very little counter space. The same basic form could be widened into a four-section version for makeup brushes or narrowed for a single-person setup. It works especially well on a windowsill or shelf where the neutral tone blends in without drawing attention.
Spiral Coil Sponge Tray
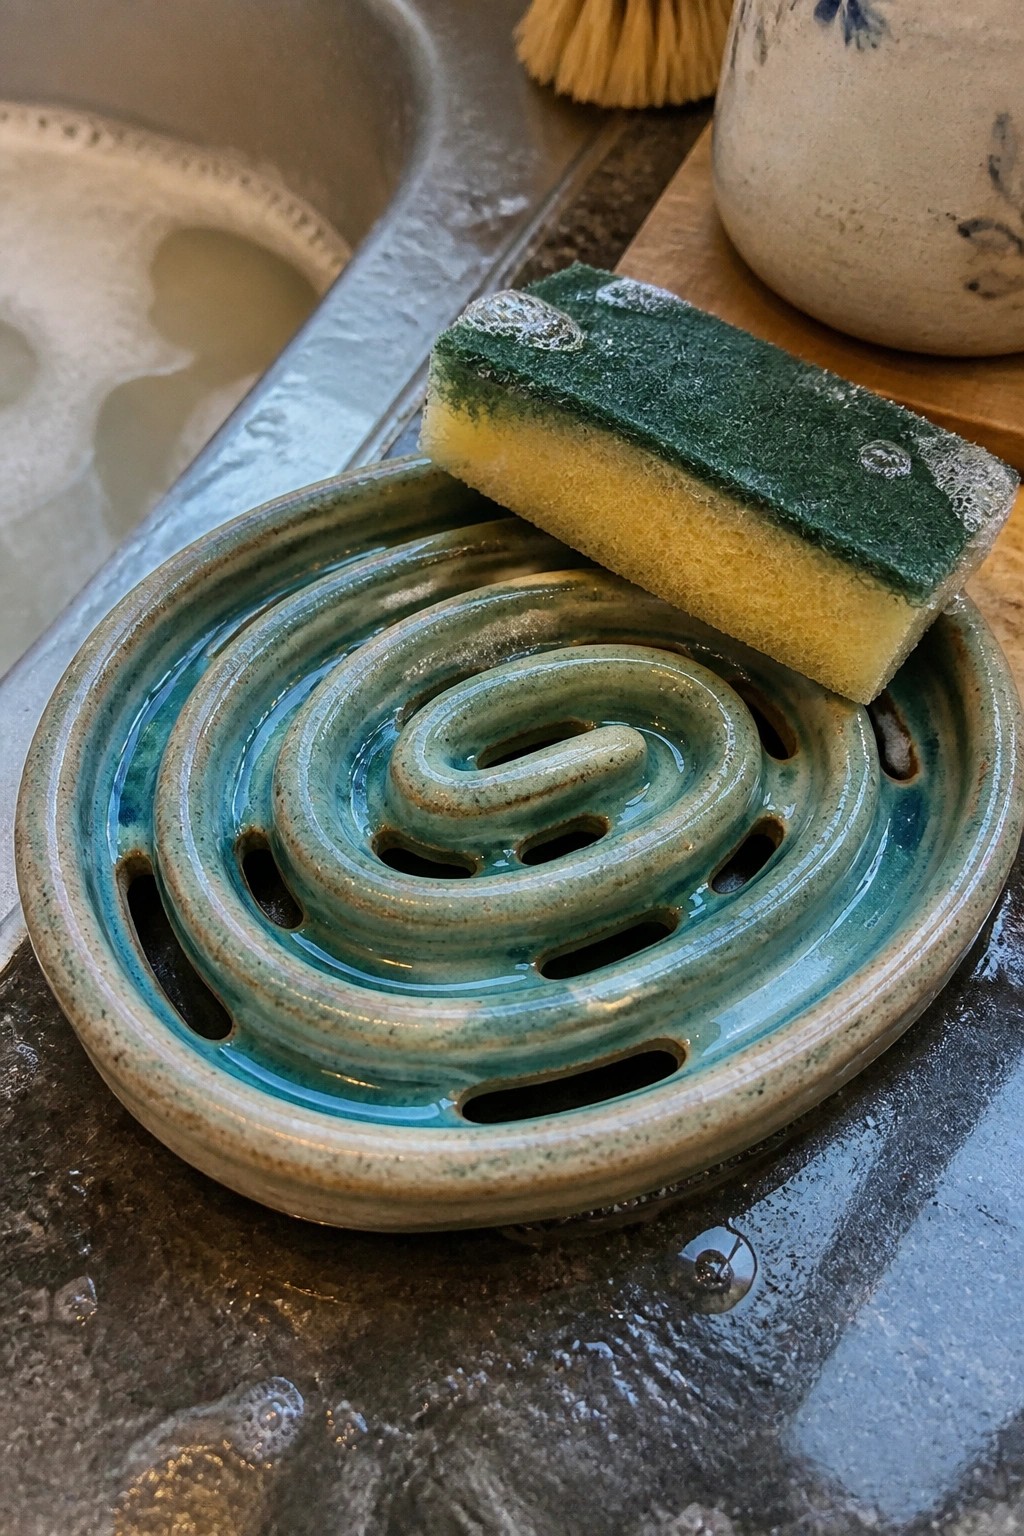
A coil-built sponge tray starts with thick ropes of clay rolled into a continuous spiral that forms both the base and raised drainage ridges. Slots left between the coils let water run off so a sponge or soap bar stays drier between uses. The turquoise glaze settles into the grooves to emphasize the handmade texture while keeping the surface simple to wipe clean.
What makes this idea useful is how the coil layout builds drainage directly into the form without extra tools. You can adapt the same spiral into a smaller ring dish or stretch it wider for a soap rest in the shower. In a kitchen this shape keeps sponges from sitting in puddles, and the earthy glaze hides everyday wear better than plain white pieces.
Notched Yarn Bowl for Holding Yarn
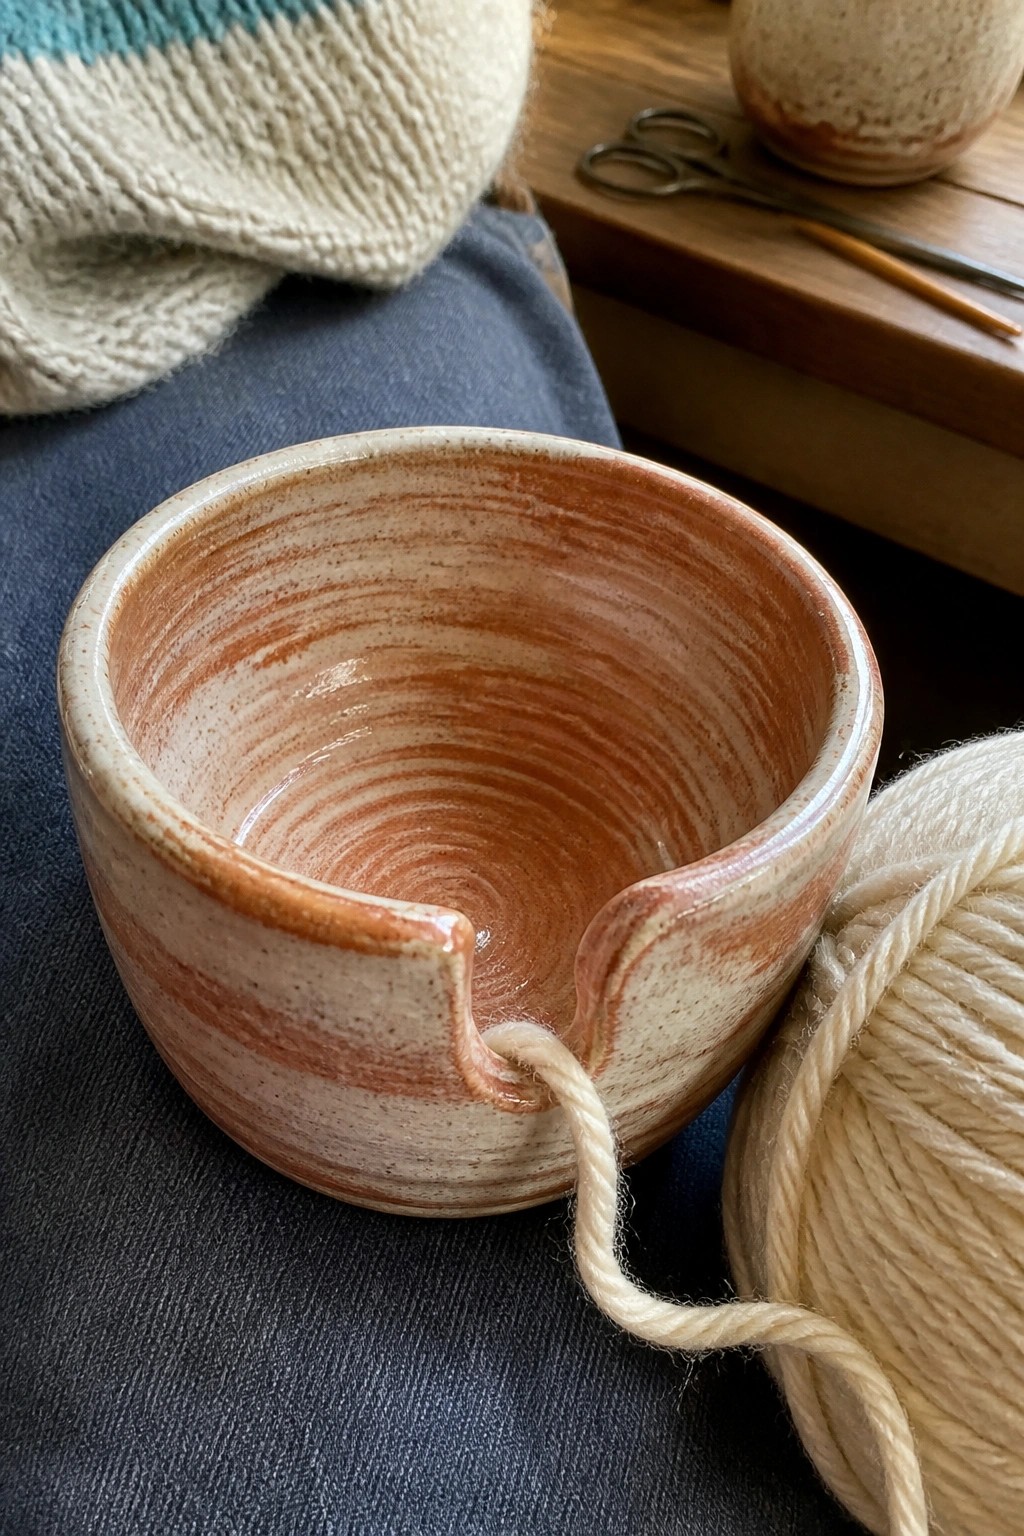
A yarn bowl shaped from clay gives knitters and crocheters a simple way to keep a ball of yarn contained while they work. The deep, rounded form has a single notch cut into the rim that catches the strand and stops it from rolling off the table. The surface shows horizontal bands of warm brown and cream glaze that highlight the wheel-thrown ridges inside. This type of holder sits between a basic bowl and a specialized craft tool.
What makes this idea useful is that the notch adds function without extra parts or hardware. You can change the notch width to suit thicker or thinner yarns or swap the glaze colors to match a project bag. A piece like this works well on a couch arm, side table, or in a small craft basket where space is limited. It could also be made smaller for embroidery thread or left wider for chunky wool.
Flower Shaped Ring Dish

A flower-shaped ring dish gives you a shallow center with raised petal sections that form the rim. The inside uses a soft green glaze while the outer edges stay in a lighter clay tone, creating clear contrast that shows off the form. This type of piece works as a small decor object meant to hold rings, necklaces, or other tiny items on a flat surface. The scalloped outline keeps the dish simple to shape while still giving it a distinct look.
What makes this idea useful is how the petal rim does most of the visual work without added carving or handles. The small scale lets you try the same shape as a soap rest, a desk catch-all, or a tiny tray for keys. You could change the glaze to a single solid color or shorten some petals to make the outline less symmetrical. In a bedroom or entryway, this size stays practical because it takes little space yet keeps jewelry from scattering.
Coil-Built Napkin Rings with Botanical Impressions

These napkin rings are formed from short coils of clay rolled into cylinders and joined at the seam. Each ring carries a row of impressed leaf or flower motifs pressed directly into the surface while the clay is still soft. The matte glazes in warm ochre, soft sage, and sandy beige keep the texture visible and give the set a coordinated but varied look. The simple round shape and repeating natural motifs make the rings easy to produce in matching sets.
What makes this idea useful is that the impressed detail does most of the visual work once the rings are fired. You can change the stamp pattern or glaze color to match different table settings without altering the basic coil construction. The small size also means you can turn the same technique into napkin rings for everyday use or scale it slightly wider for small candle sleeves. Beginners can practice even coil thickness on one ring first, then add more once the forming step feels consistent.
Tall Tapered Vase Built from Coils

A tall tapered vase formed by stacking and smoothing coils gives you a simple holder for single stems or small wildflower bunches. The shape narrows at the neck and base while staying wider through the middle, which helps balance longer stems. Visible horizontal ridges from the coils remain under a turquoise glaze that settles into the grooves and leaves an unglazed band at the foot. This keeps the focus on the hand-built structure rather than added decoration.
What makes this idea useful is how the narrow footprint works on windowsills or small tables where wider pieces would crowd the space. You can shorten the overall height or widen the middle slightly during building to fit different stem lengths or turn the same coil method into a small pitcher shape. The glaze choice highlights the ridges without covering them completely, so the surface still reads as handmade. A piece like this also photographs cleanly for sharing because the vertical lines and single stem create a clear focal point.
Coil Built Egg Cup with Blue Rim

A small coil-built egg cup gives you a straightforward kitchen item for serving soft-boiled eggs or holding small portions. The form stacks coils into a wide top that tapers to a short stem and rounded foot, with the coils left visible as horizontal ridges. A narrow band of blue glaze along the rim creates contrast against the speckled off-white clay body.
What makes this idea useful is its compact size, which keeps material use low while letting you focus on even coil joins and simple shaping. The same basic form works as a salt cellar, small dip bowl, or ring holder with only minor adjustments to the rim width. In a breakfast setup the piece stays practical and easy to repeat in different glaze colors.
Frequently Asked Questions
What type of clay works best for beginners trying rustic coil pottery ideas by hand? Air dry clay offers a simple starting point because it hardens at room temperature without needing a kiln. Choose a terracotta or stoneware blend for a natural rustic appearance that develops subtle cracks and texture as it dries. Always wedge the clay thoroughly to remove air pockets before rolling coils.
How can I join coils securely so my handmade rustic pieces do not fall apart later? Score the edges of each coil with a fork or serrated tool and apply slip made from the same clay mixed with water. Press the coils together firmly while building upward. Smooth the inside seams first and leave the outside slightly textured to enhance the rustic look featured in many beginner projects.
What household items help create authentic rustic textures on coil pottery without buying extra tools? Use a piece of rough fabric, a sponge, or even a twig to press patterns into the surface while the clay is still soft. Leaves or bark can imprint natural designs that fit the rustic theme. Work gently to avoid distorting the shape of bowls, vases, or trays from the idea list.
How long should coil pottery dry before it is safe to handle or fire? Allow pieces to dry slowly over five to seven days in a shaded area with good airflow. Cover them loosely with plastic for the first two days to prevent rapid moisture loss that leads to cracks. Test dryness by touching the base; it should feel room temperature and no longer cool to the touch.
What simple finishing options keep rustic coil pottery durable for everyday use? Once fully dry, apply two coats of acrylic sealer or a food safe varnish if the piece will hold dry items. For fired work, choose a matte glaze in earth tones that highlights the handmade texture. Avoid glossy finishes if you want to maintain the natural rustic character of the designs.

Pottery Path is my cozy corner of the internet where I share clay ideas, pottery inspiration, and simple projects you can recreate at home. I love exploring everything from air dry clay to handbuilt pottery to cute minis that brighten your day. My goal is to make clay crafting feel easy, fun, and welcoming for anyone who wants to try it.
You will find beginner friendly tutorials, creative pottery painting ideas, and lots of warm inspiration for slow and happy crafting. If you enjoy hands on creativity, this space will feel like home.